Introduction
This article is designed to assist you with getting an End User at your Customer setup with the Web App.
Prerequisites
- This article assumes the End Users are already imported into Quickpass. If not follow one of these articles first.
Manual Import
Automatic Import of AD Accounts Linked to O365
Automatic Import of AD Accounts not Linked to O365
Automatic Import of O365/Azure Only Accounts - Important: To ensure no emails from Quickpass get marked as spam add the domain getquickpass.com and quickpassnotifications.com to your customer spam filter white lists. Although Quickpass has setup necessary SPF and DKIM records for its automated emails there is still a chance some spam filters may identity our welcome emails as bulk or spam. Add our domain to customer spam filter white lists ensures none of our emails gets marked as spam.
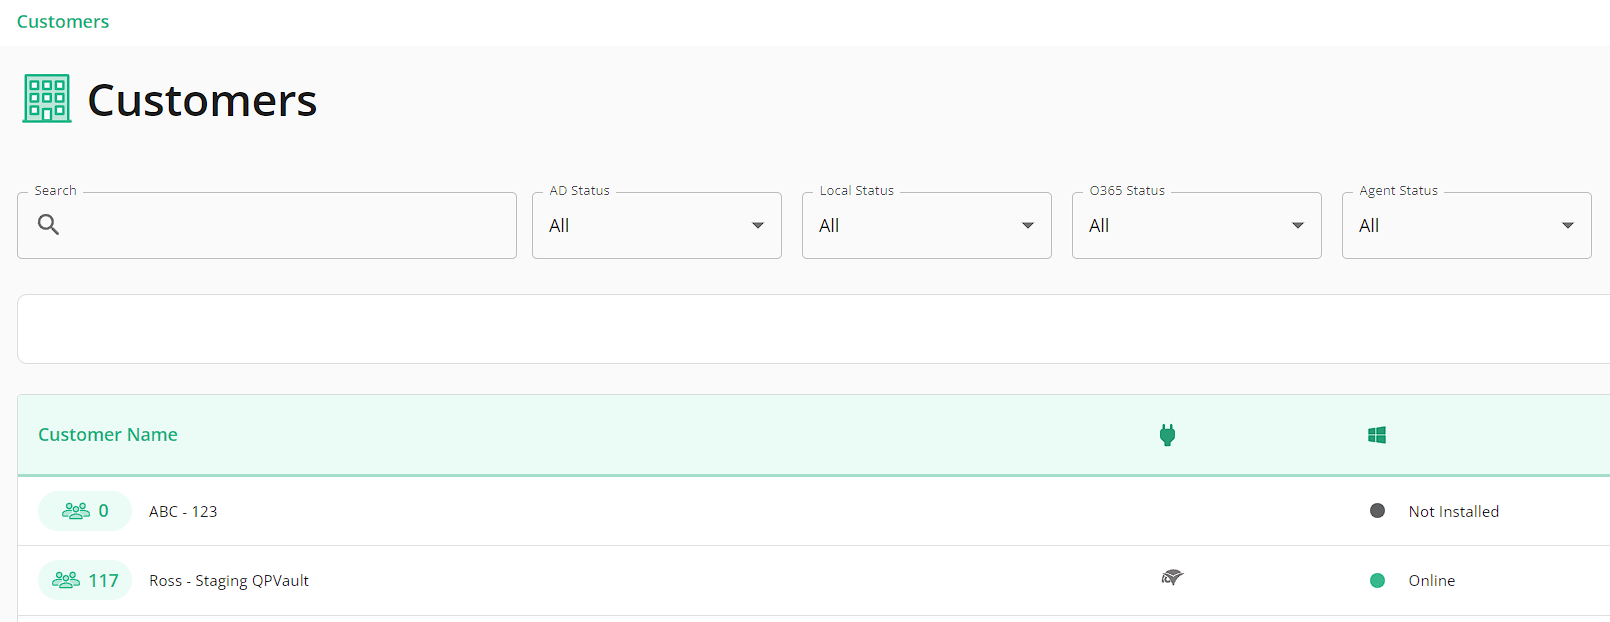
1. Click the Customer you wish to on-board users in the Customer screen.
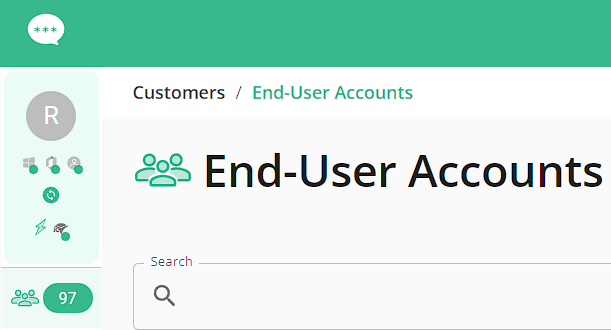
2. Click the End-User Accounts  menu on the left hand side of the dashboard.
3. Email Address: Make sure there is an email address entered for the user. If the email address was imported from Active Directory or Office 365 it will appear as a green envelope icon  . If it was missing from the directory source then you can enter an email manually by clicking the black
  (missing) or red
 (incorrectly formatted) envelope icon and typing the email address and clicking Save.

4. Mobile Phone Number: The mobile phone number will show a green mobile icon  if was imported from Active Directory or Office 365. If the mobile phone number is black
  (missing) or red
  (incorrectly formatted) in the Phone Number column you have the option of clicking the icon and populating the value, if you know the number, or the end-user can register the number after you send them the welcome email. Click Save.
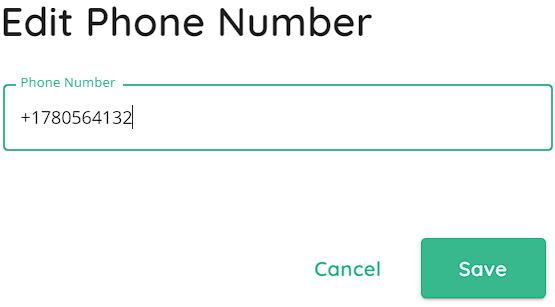
Note: If you type in the mobile phone number make sure it includes a + at the beginning of the number followed by the country code.
Once both the Email and Phone number fields are populated the QP Status will turn to Registration Complete. Notifications will be sent to end-users, once the Self-Serve toggle switch is enabled even if you have not sent the welcome email after both the email and phone numbers have been populated in Quickpass.
5. Enable the Self-Serve Toggle switch if not already enabled. This enables both the notifications of password expiration and account lockouts, and the Self-Serve. This may have been enabled at the time of import via the Automatic Import options. If this is NOT enabled, you MUST turn this on (either in bulk via the check box selections or individually) in order for the End User to sign into the Mobile App.
Not Enabled
Enabled

6. Send welcome email to the end user by clicking the three vertical dots on the right hand side then selecting Send Welcome Email.

Note: The welcome email is not a requirement to start using the self-serve apps. However, the purpose of the welcome email is to allow the end-user to verify their mobile phone number is correct or register it if it's missing by using the link provided. This will also provide the end-user the links to download the Quickpass mobile apps from the iOS and Google Play stores and provide the link to the Quickpass self-serve web app.
Alternatively, you can select Send Welcome Email for multiple accounts from the checkboxes and selecting the Send Welcome Email along the top row.
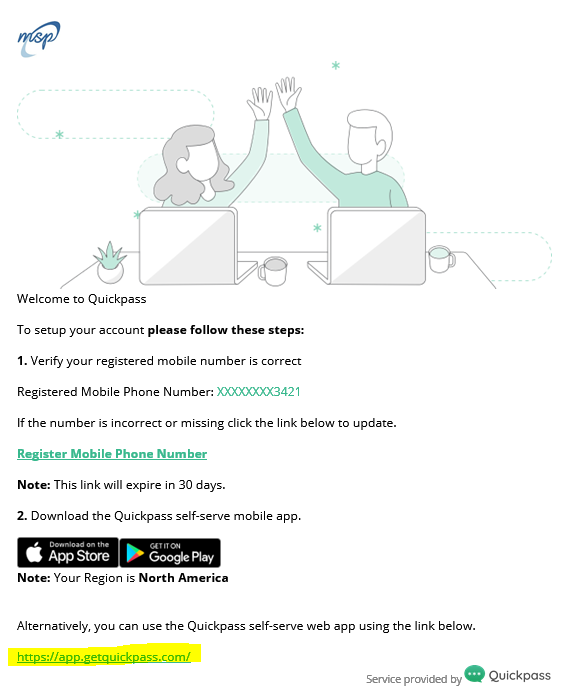
7. The users will now receive a welcome email from Quickpass with links to register their mobile number used to receive temporary passwords, the link to the Quickpass mobile app and the link to the self-serve web app URL.

Note:
If the mobile phone number was already registered the last four digits of the phone number will show in the email. Otherwise, if the number was not registered on the dashboard the mobile phone number will not show.
If the mobile phone number is not the correct number or is missing the end-user needs to click the link in the email to Register Mobile Phone Number to register the end user mobile number used to send temporary passphrase codes.
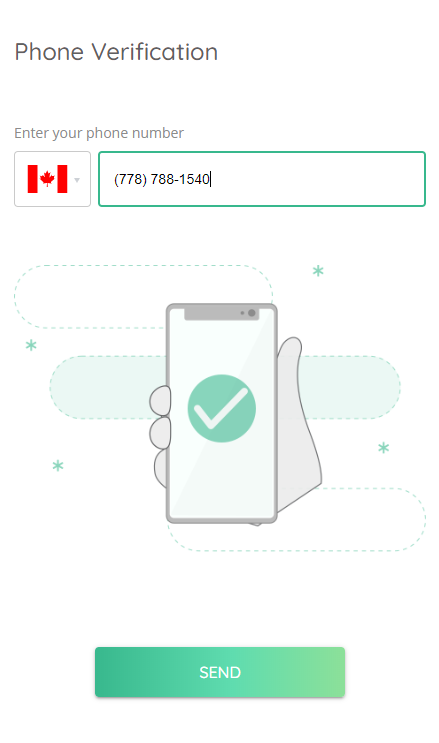
8. If the end-user clicks to register their mobile phone number they will be redirected to a web page where they can select their country on the left hand side to apply the correct dialing prefix then enter their mobile number included area code. Then click submit to confirm the number.
9. The end user will receive a one time 2FA code as an SMS message on their mobile phone and will need to type the code from the SMS code and click Verify when done.
Note: When verifying mobile phone numbers we use one time 2FA numbered codes. But when logging into the self-serve web app we use temporary passphrase codes instead for increased security.
10. The code will be verified and the end user will get a confirmation that their Phone number has been verified.

Note: The Quickpass Administrator will now notice that the end users mobile phone number will show in the Quickpass web admin console.

11. Optional: If the end-user wants to test they can login to the web self-serve app they can click the link at the bottom of the welcome email to login for the first time.
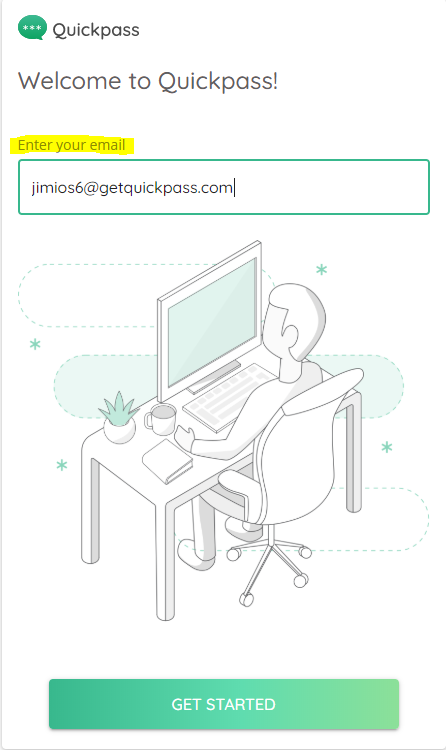
12. At the self-serve web site enter the email address associated with your Quickpass account in the box provided and click Get Started when done.
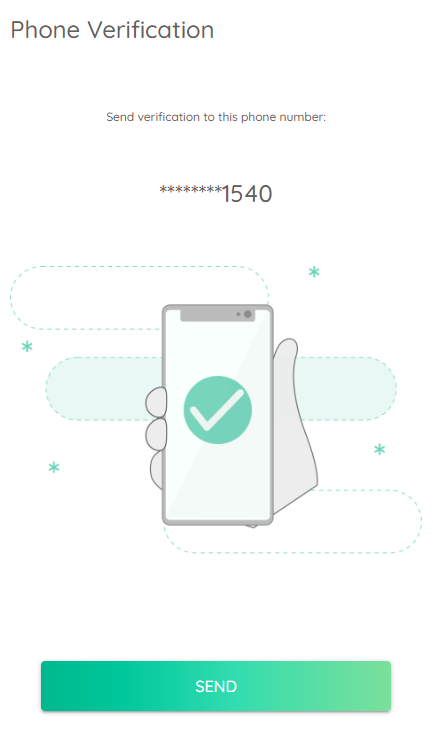
13. In the following screen the web app will show you the last four digits of the mobile number your account is registered with to send temporary passphrase codes. Click the Send button to receive the temporary passphrase code. For security purposes the full phone number is not exposed.
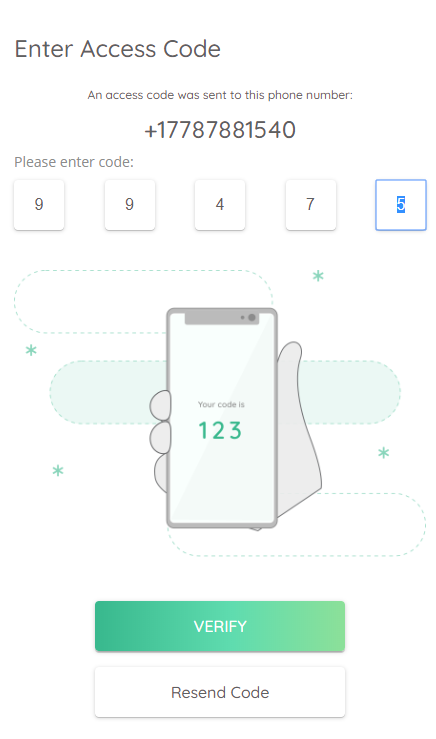
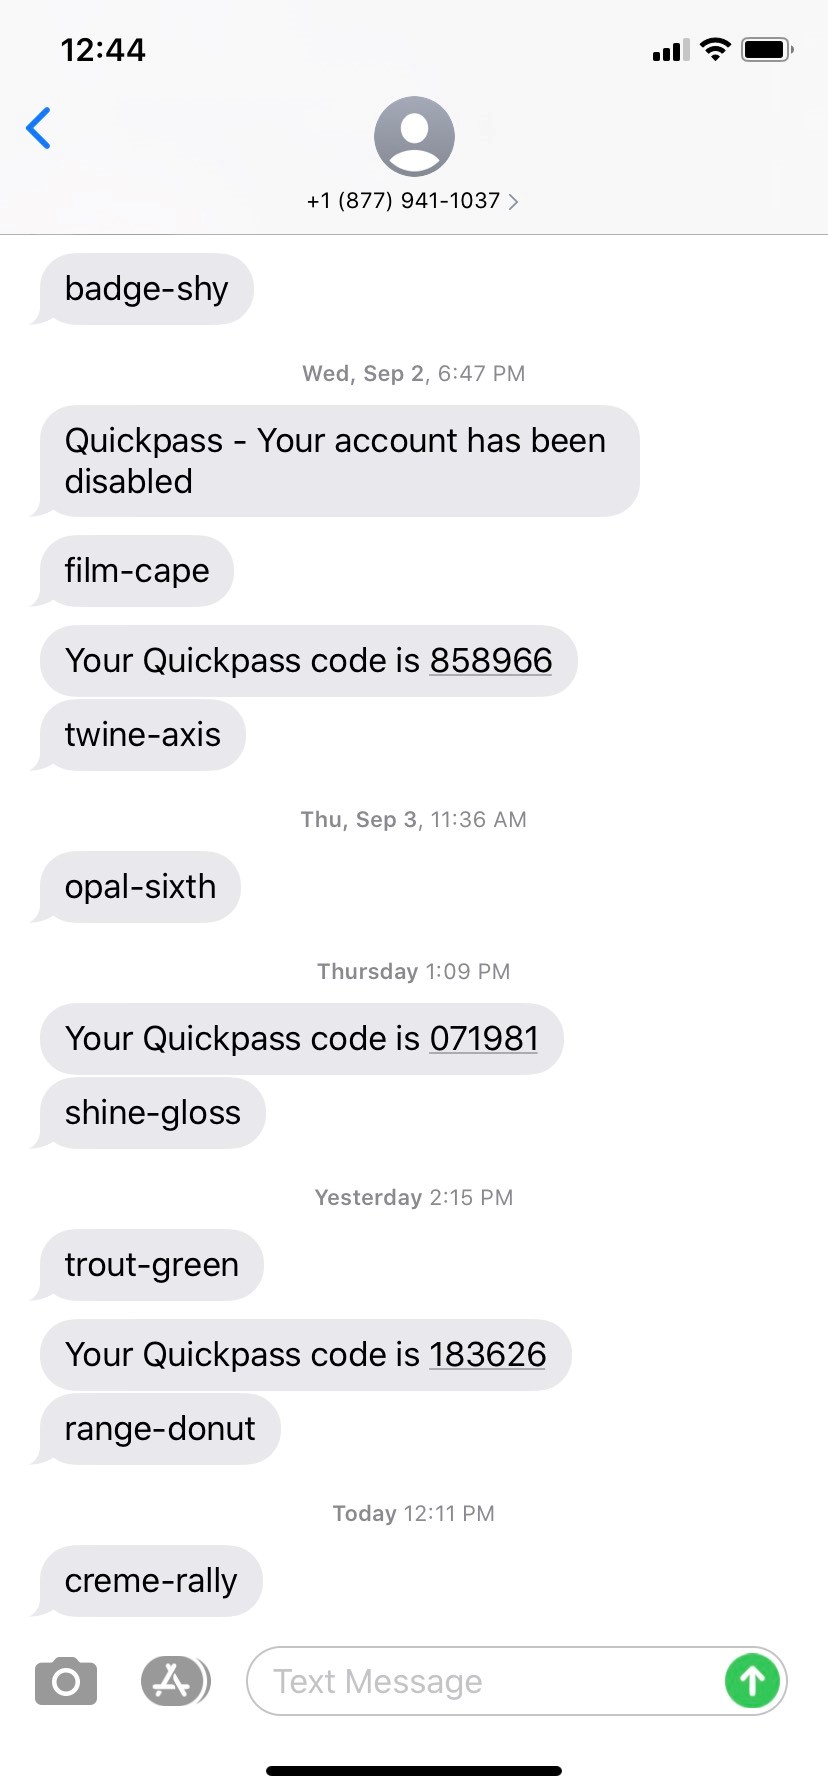
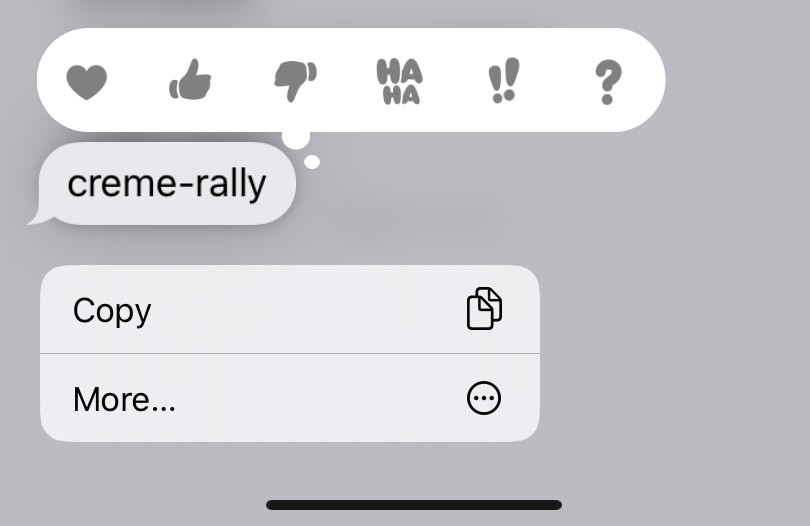
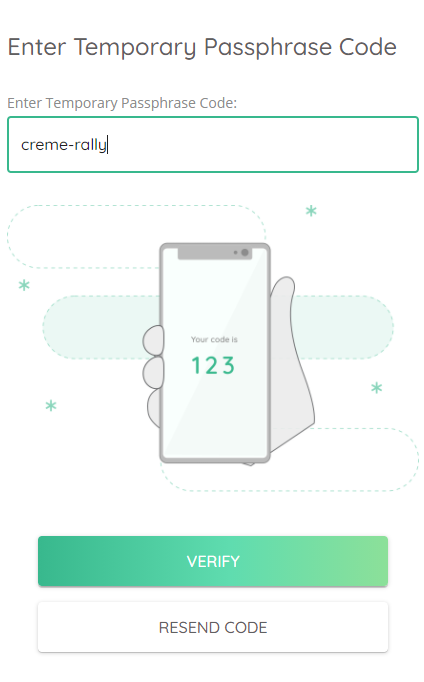
14. You will receive the temporary passphrase code via SMS on your mobile phone and you can either copy the passphrase code from iMessage in iOS or from Messages in Android and paste the passphrase code in the Enter Temporary Passphrase Code box provided. Alternatively, you can type the passphrase code in. Once complete click Verify.
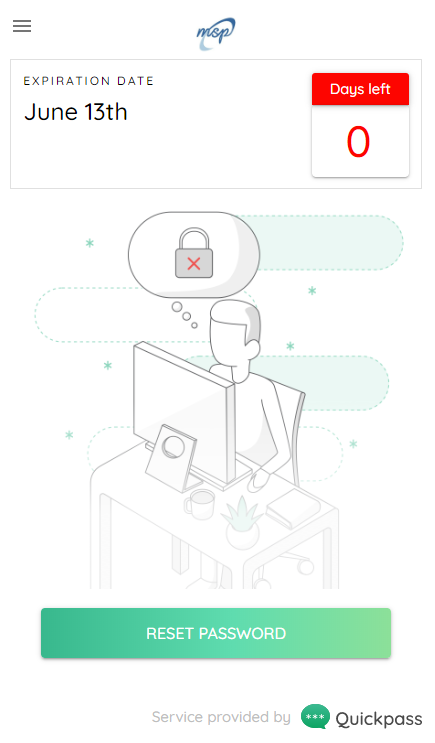
15. Once the temporary passphrase is verified you will be logged into the web app and can reset your password.
Next Steps
- How to reset your password and unlock your account using the web app https://support.getquickpass.com/hc/en-us/articles/360036208693-How-to-reset-passwords-and-unlock-accounts-using-self-serve-web-app
Comments
0 comments
Please sign in to leave a comment.