Overview
Elevation Auto-Approval Policies allow you to automatically approve end-user process elevation requests based on predefined rules, reducing manual intervention while maintaining control. Policies can be configured to target specific customers or end-users and include detailed conditions to ensure security.
Note: Currently, only Super and Primary roles can create Elevation Auto-Approval Policies. Support for additional roles will be available soon.
Policy Status: Active vs Draft
Each policy can be set to one of two statuses:
- Active: Requests that match the policy's conditions will be automatically approved.
- Draft: Requests will not be auto-approved.
Draft policies are useful when:- You’re still configuring the policy details.
- You want to temporarily pause auto-approvals without deleting the policy.
How to Create an Auto-Approval Policy
Step 1: Navigate to Policies
Go to the Global Elevation Menu > Policies.
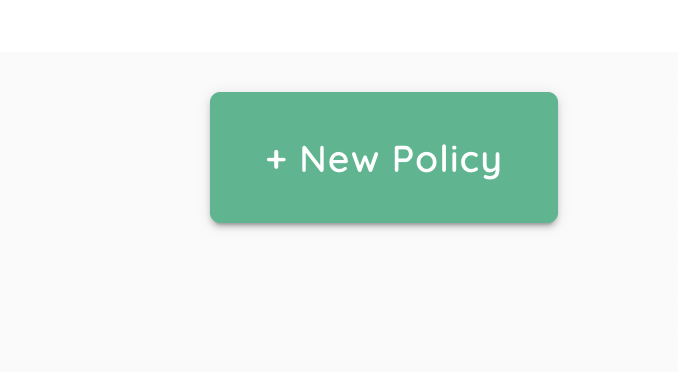
Step 2: Click on “Create Policy”
Step 3: Complete the policy details: General, Audience & Rules
1. General
- Name (Required):
Provide a clear, descriptive name for the policy. - Description (Optional):
Add any notes or information about the policy purpose.
2. Audience Scope
Choose who this policy applies to:
- Customers: Target all end-users belonging to selected Customers
- Customer Groups: Target all end-users belonging to Customers added to the selected Customer Groups
- End-Users: Target specific individual end-users across any Customer(s)
3. Rules
Define conditions that determine which elevation requests get auto-approved.
- Add Rule:
- Click Add Rule to create one or more rules.
- Rule Details:
-
Rule Name: Give the rule a meaningful name.
-
Conditions: Specify one or more conditions based on: Publisher, Program Path, File Name, File Hash (SHA256), Minimum Version, Certificate Hash
-
Important: For a request to be auto-approved, ALL conditions in a rule must match.
You can use wildcards (*) within Publisher and File Name conditions to match patterns in application names.
For example:
File Name = Chrome*.exewill match all files that start with "Chrome" and end with.exe.
⚠️ Note: Always use wildcard conditions in combination with other conditions to avoid overly broad rules.
Fewer conditions = broader/looser rule (less restrictive).
More conditions = tighter/stricter rule (more secure).
Please configure rules thoughtfully to balance convenience and security.
Step 4: Save the policy
Once you've filled in all components choose to:
- Save as Draft:
Keep the policy in draft while you refine the rules or pause auto-approvals temporarily. - Save & Publish
Set the policy to Active to begin auto-approving requests based on your configured rules.
Comments
0 comments
Please sign in to leave a comment.