1. Navigate to NinjaOne RMM

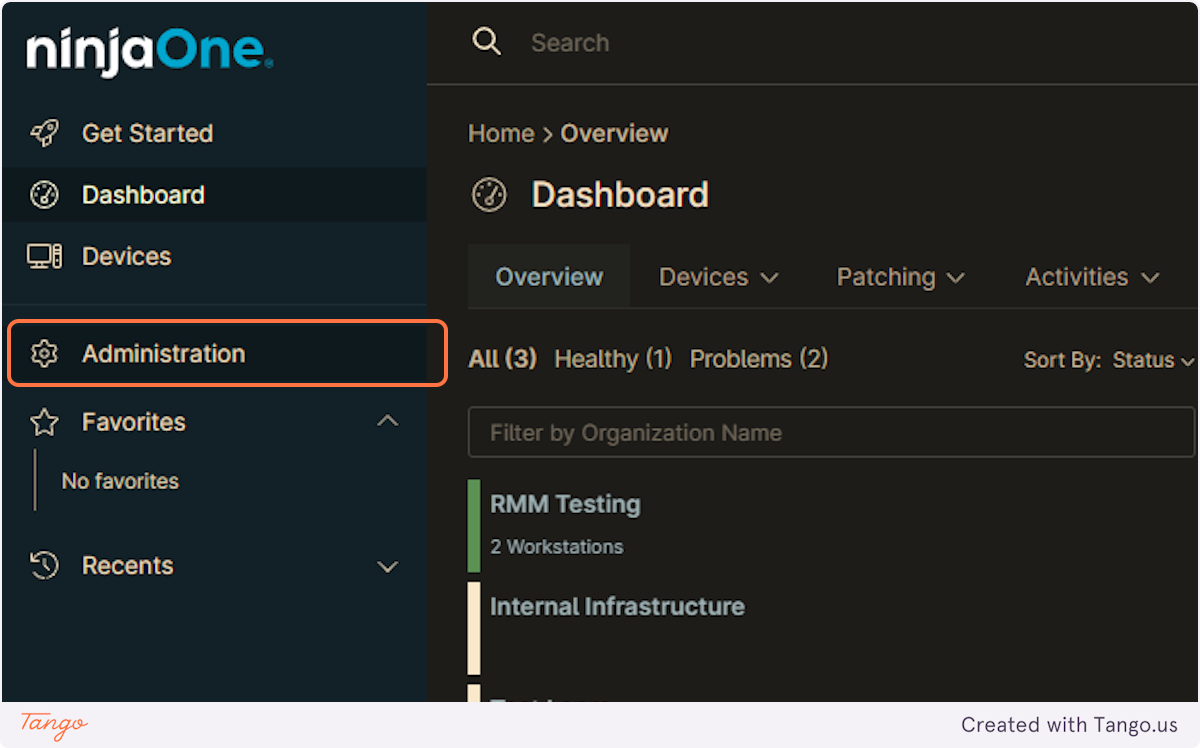
2. Click on Administration
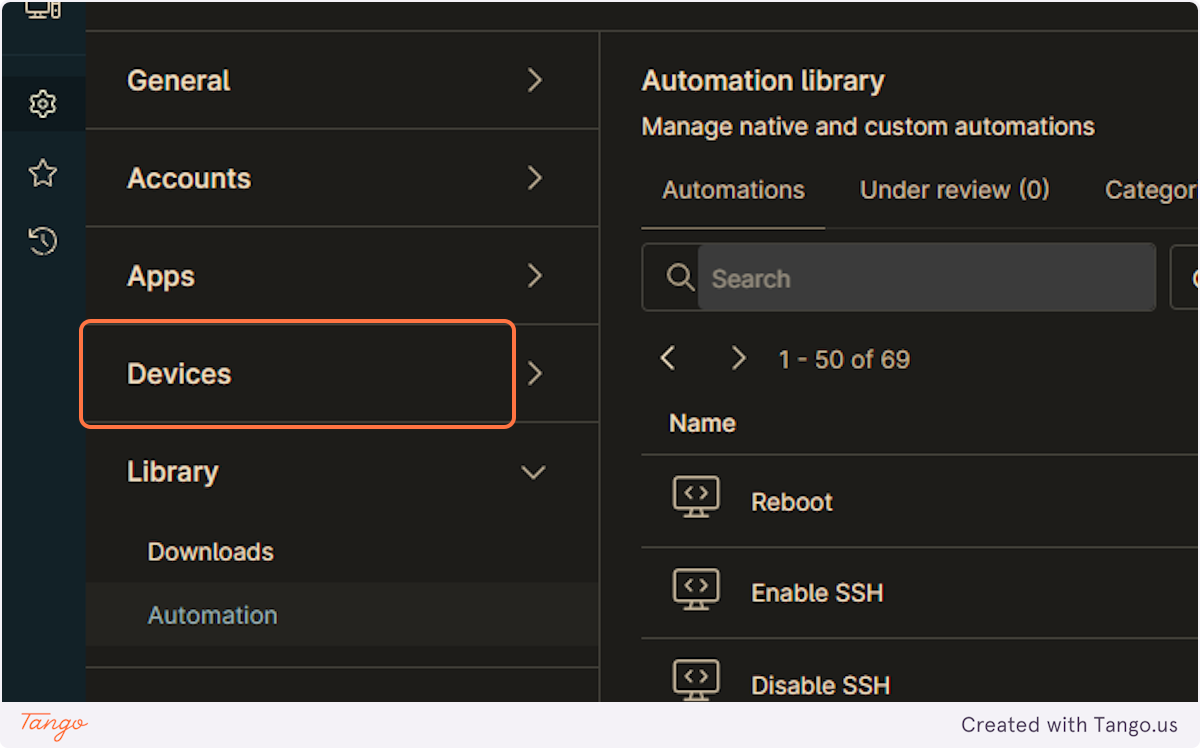
3. Click on Devices
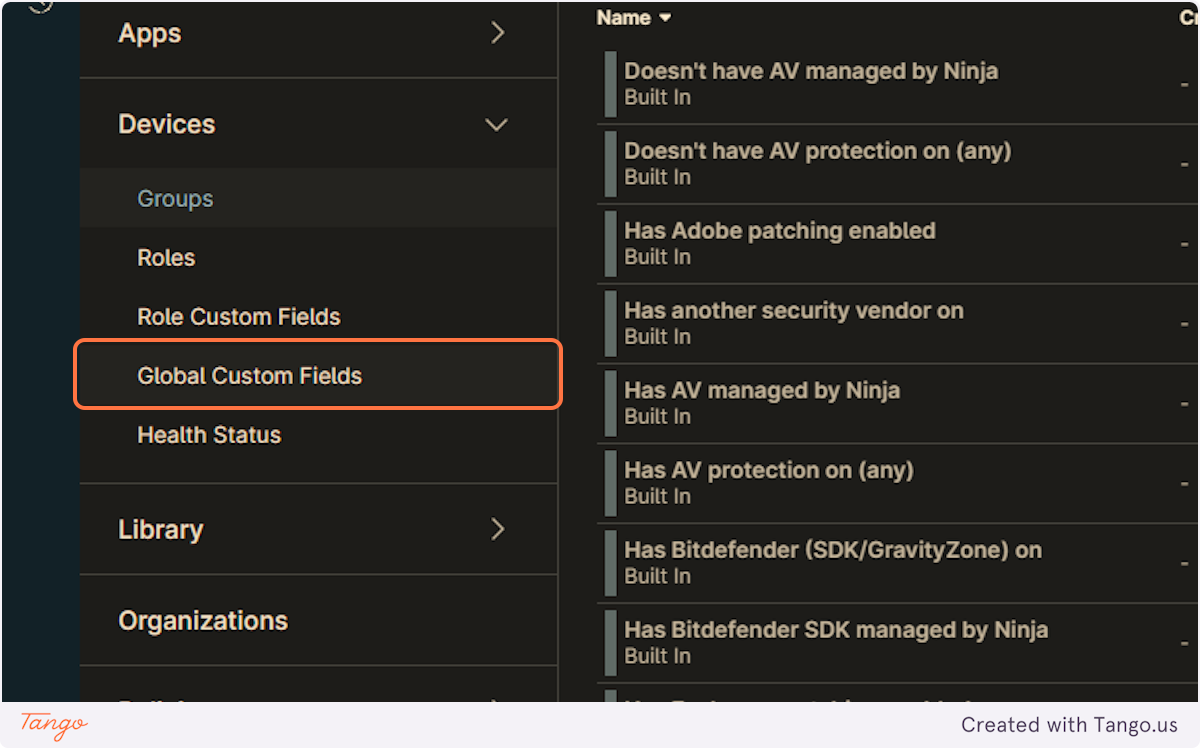
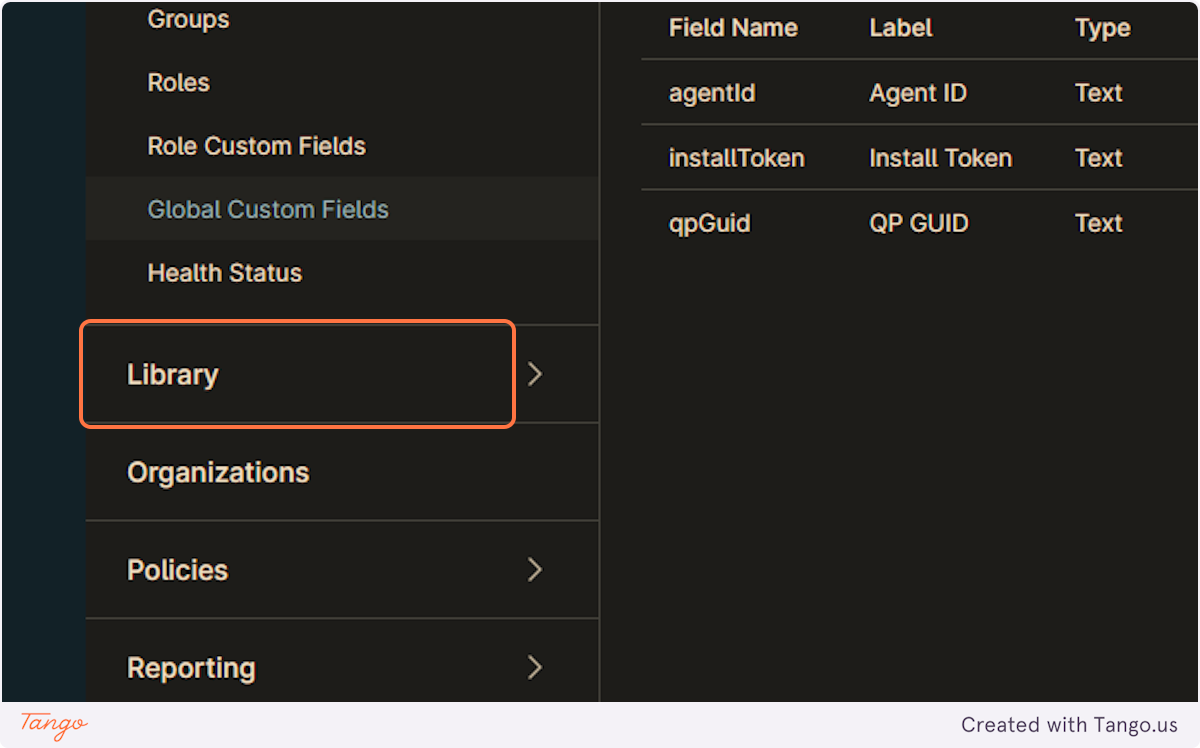
4. Click on Global Custom Fields
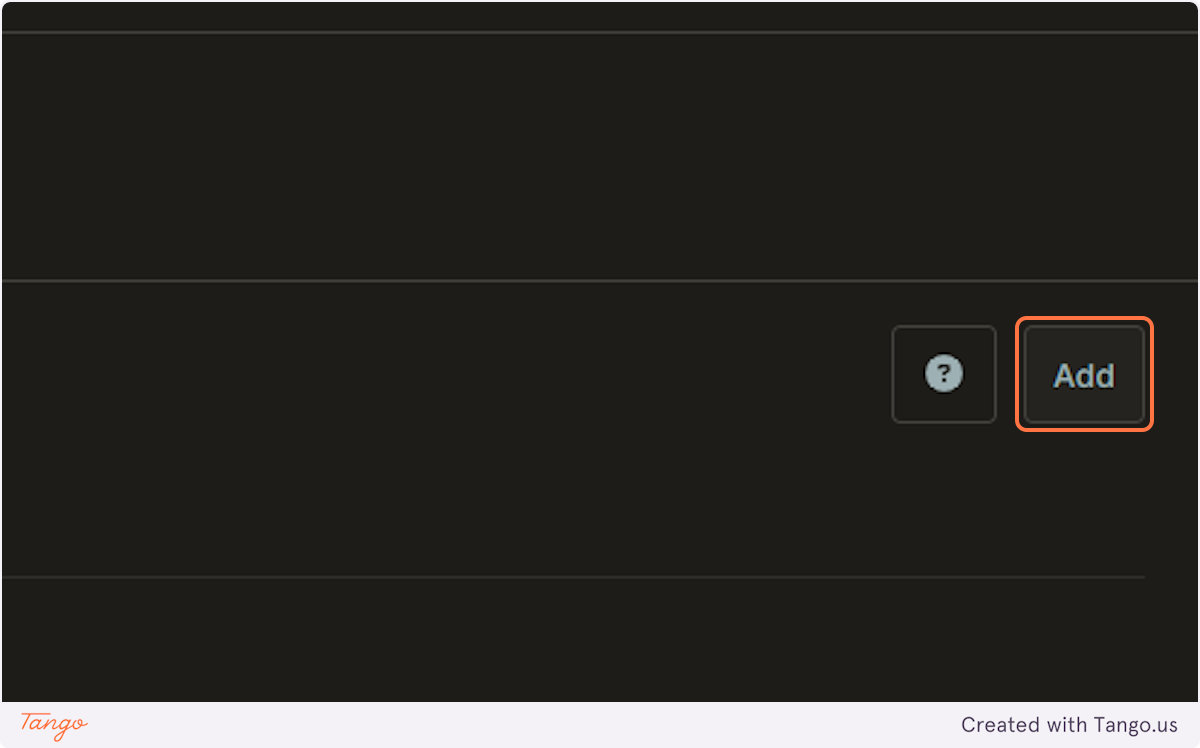
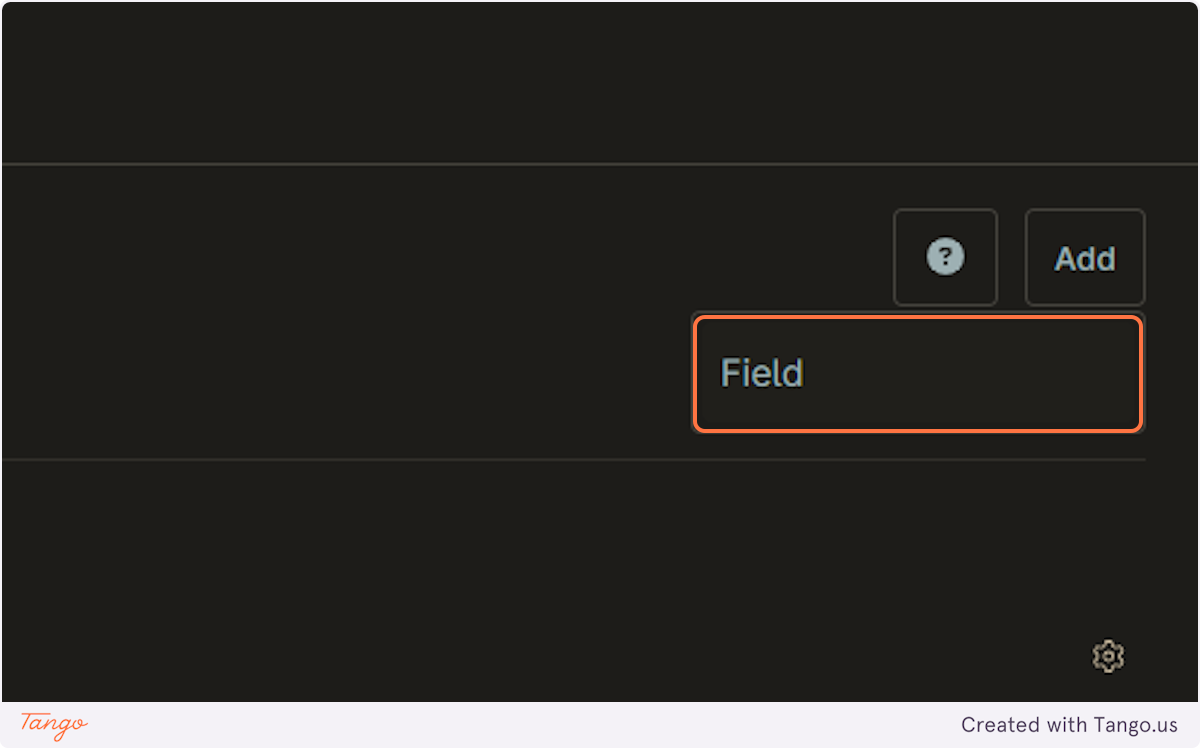
5. Click on Add
6. Click on Field
7. Label and name as shown
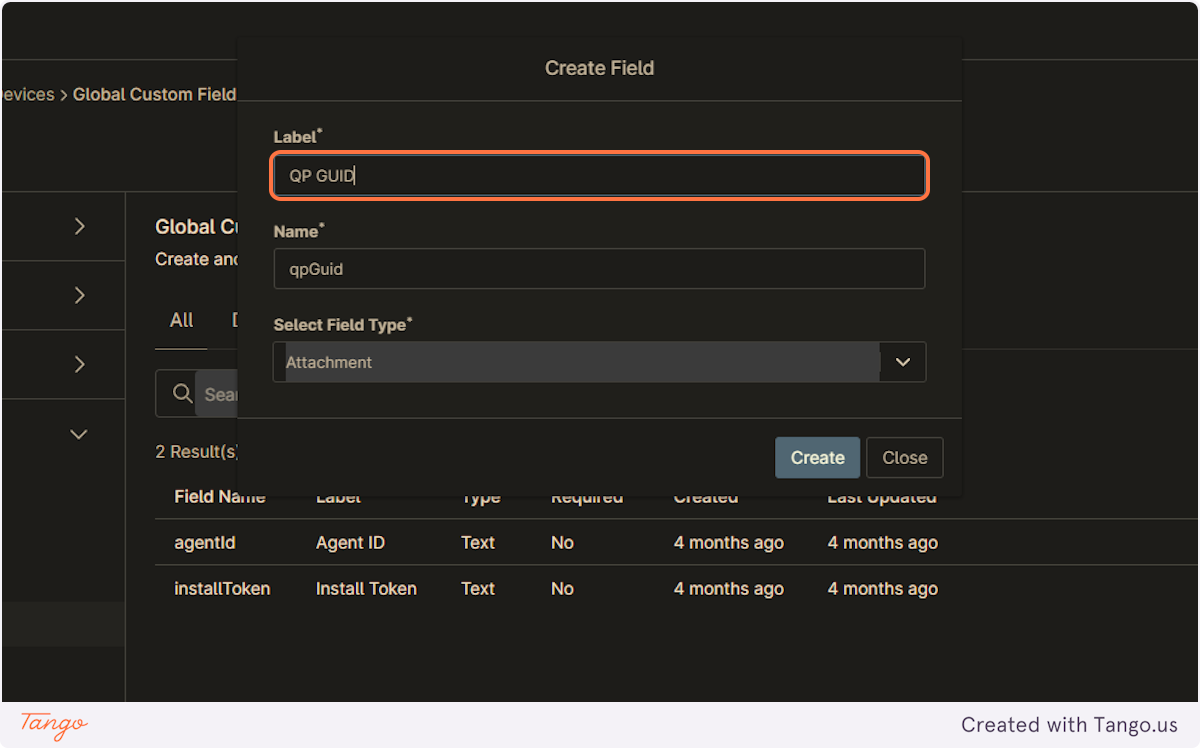
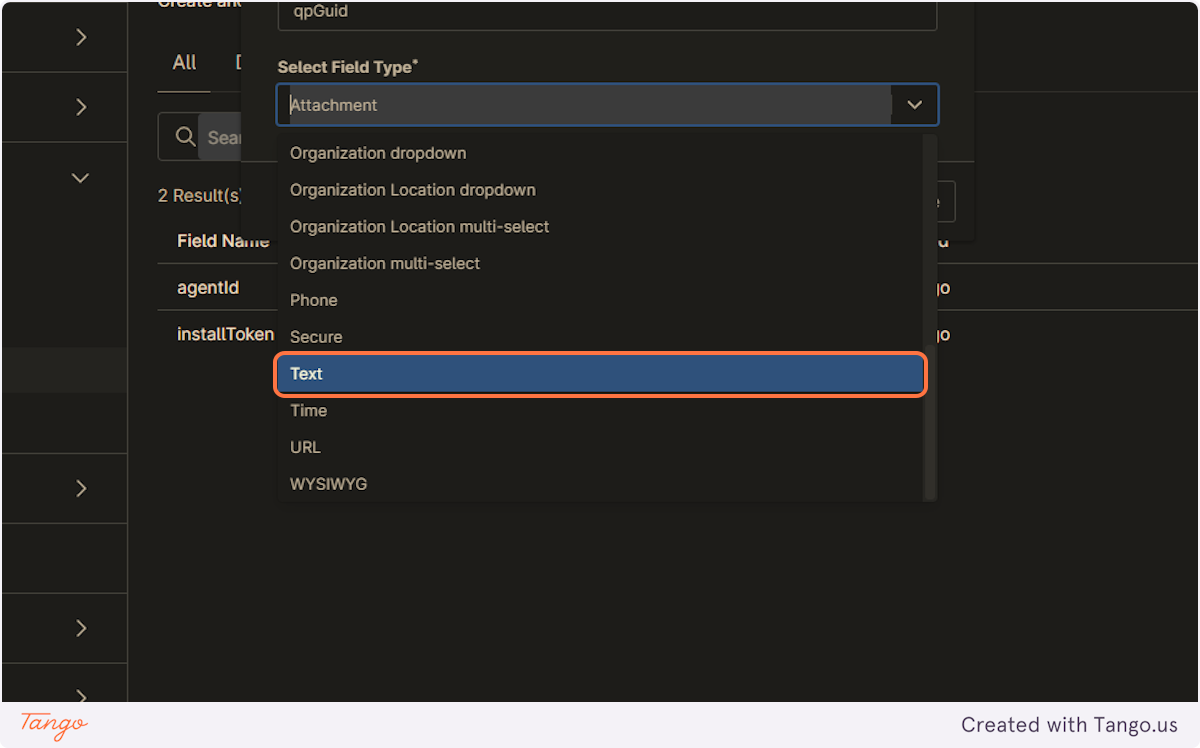
8. Set Field Type to Text
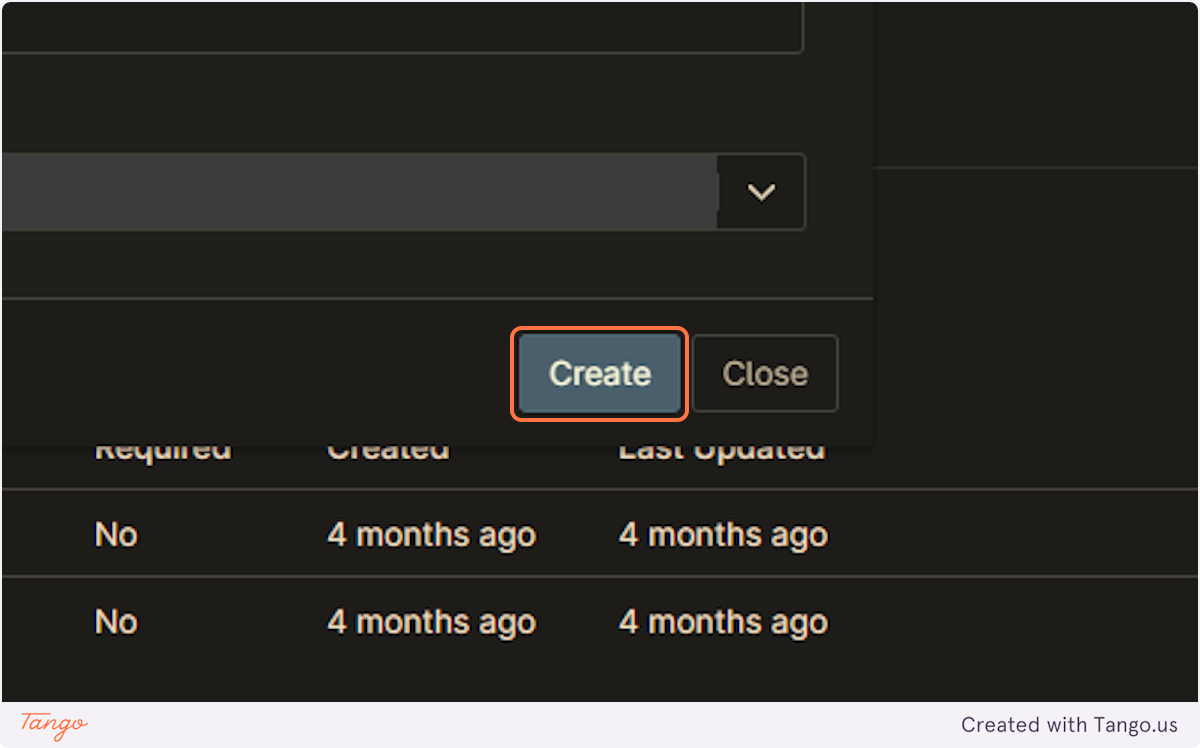
9. Click on Create
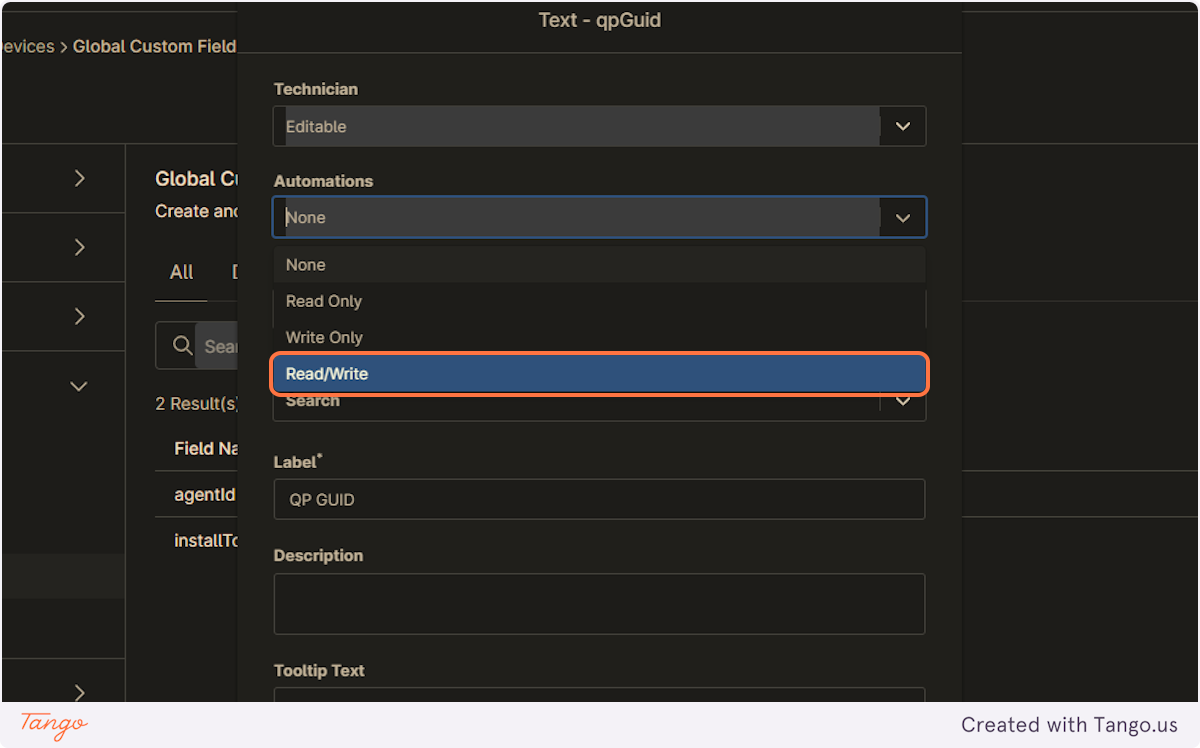
10. Set Automations to Read/Write
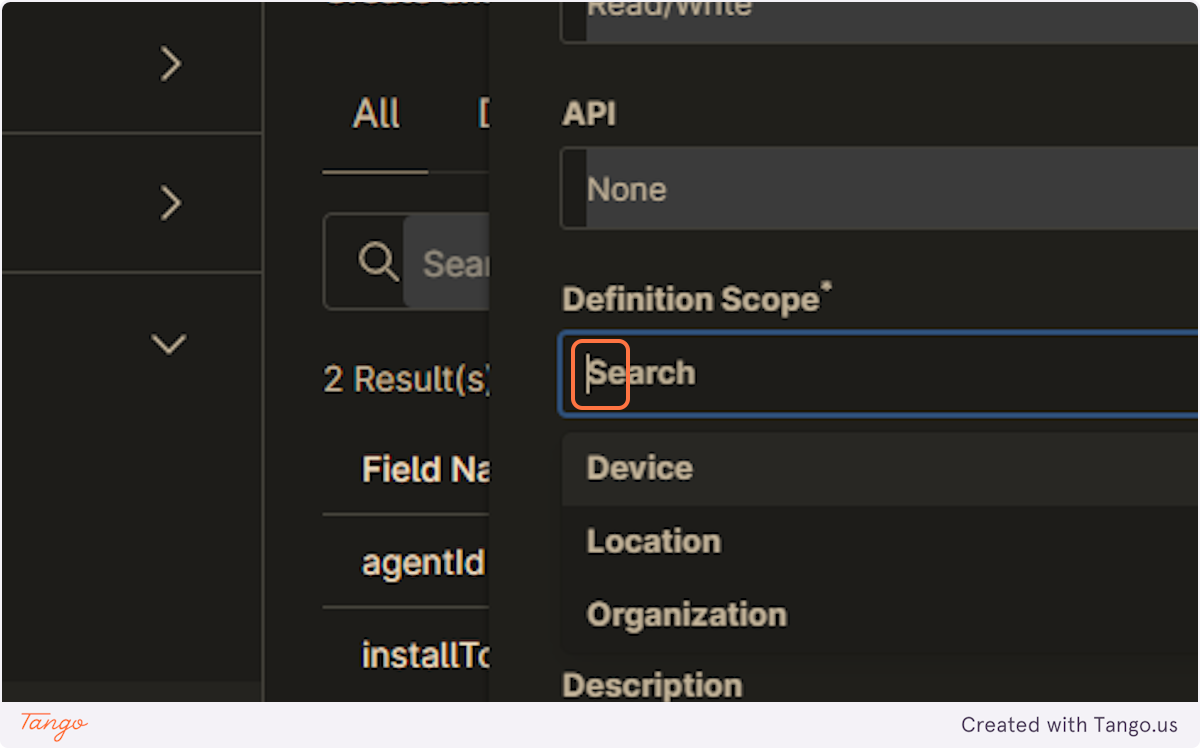
11. Set Definition Scope to Device
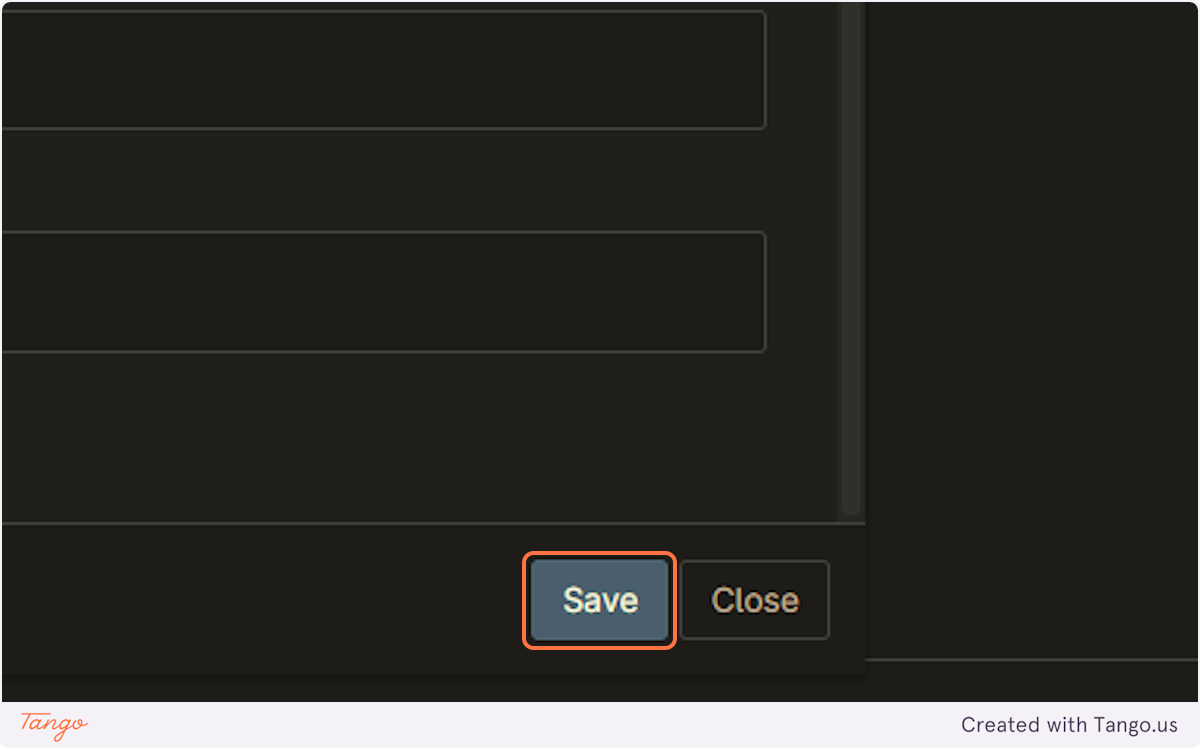
12. Click on Save
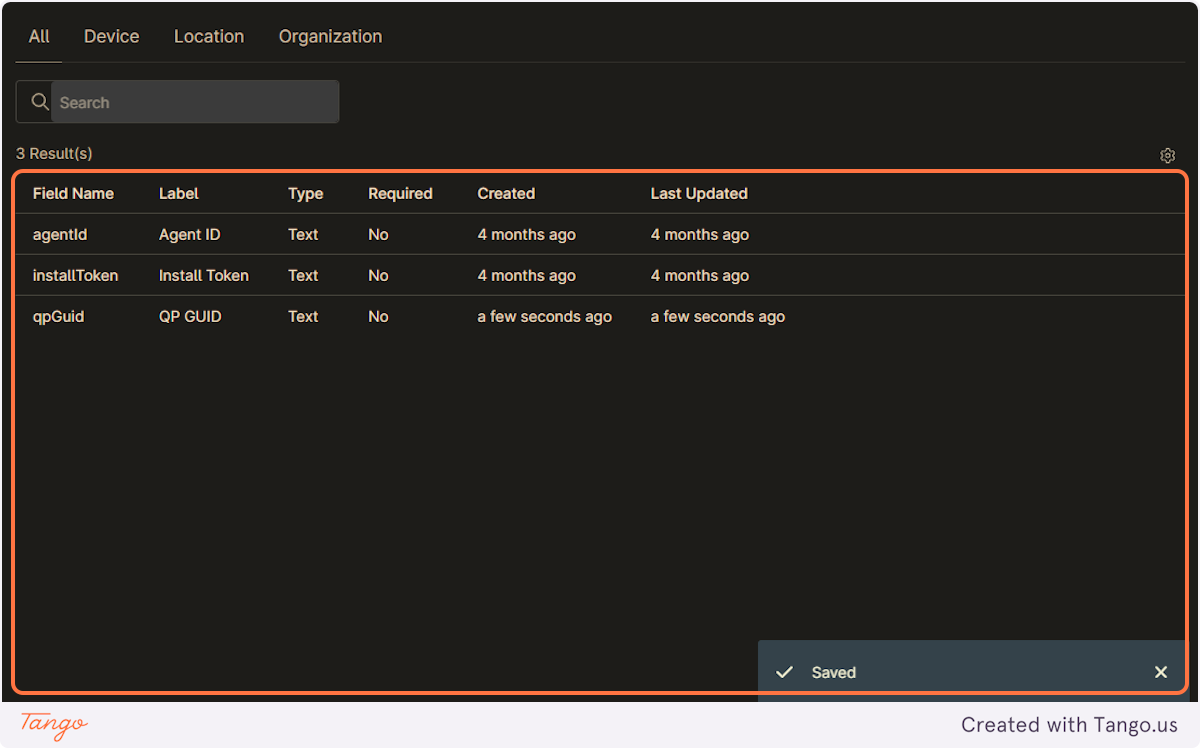
13. Confirm 'qpGuid' custom field is created
14. Click on Library
15. Click on Automation

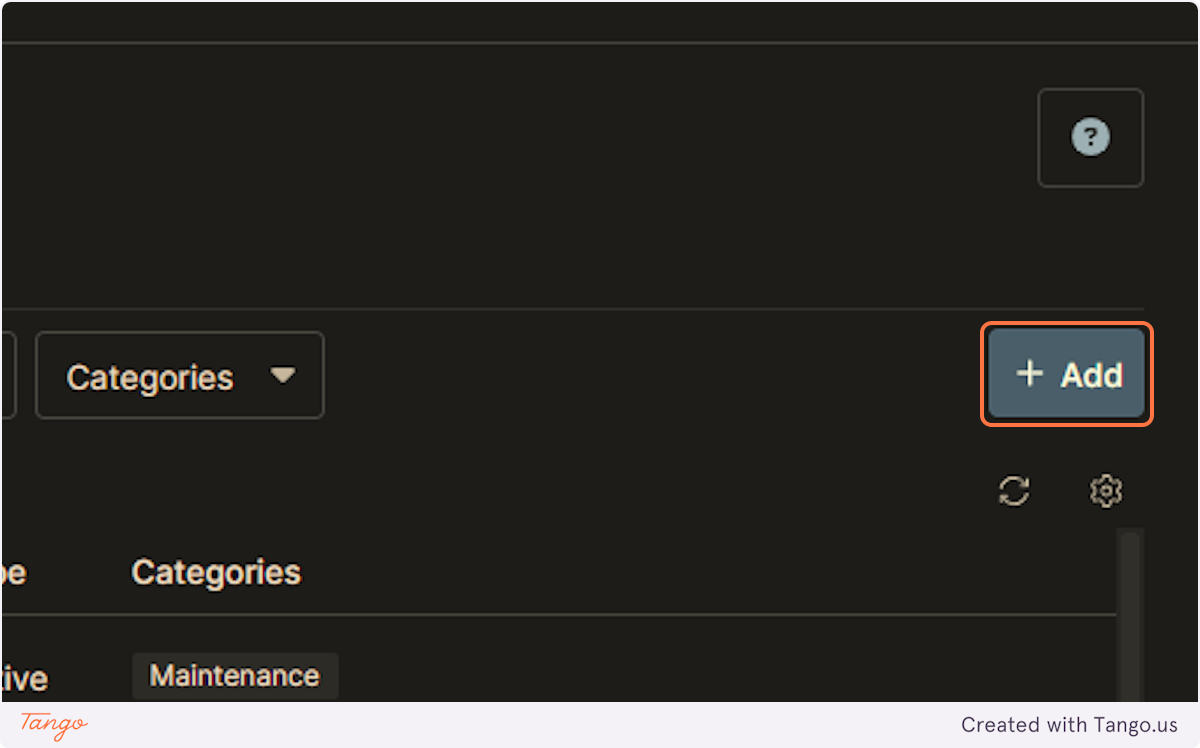
16. Click on Add
17. Click on New script

18. Name as desired
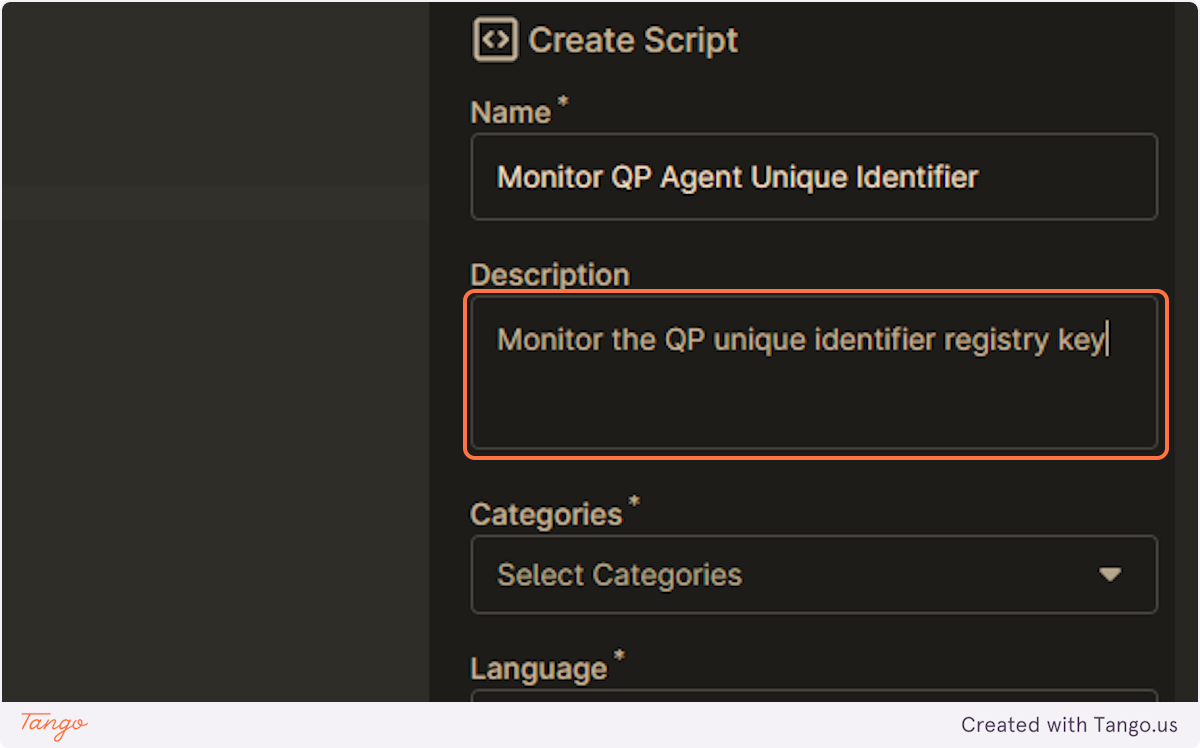
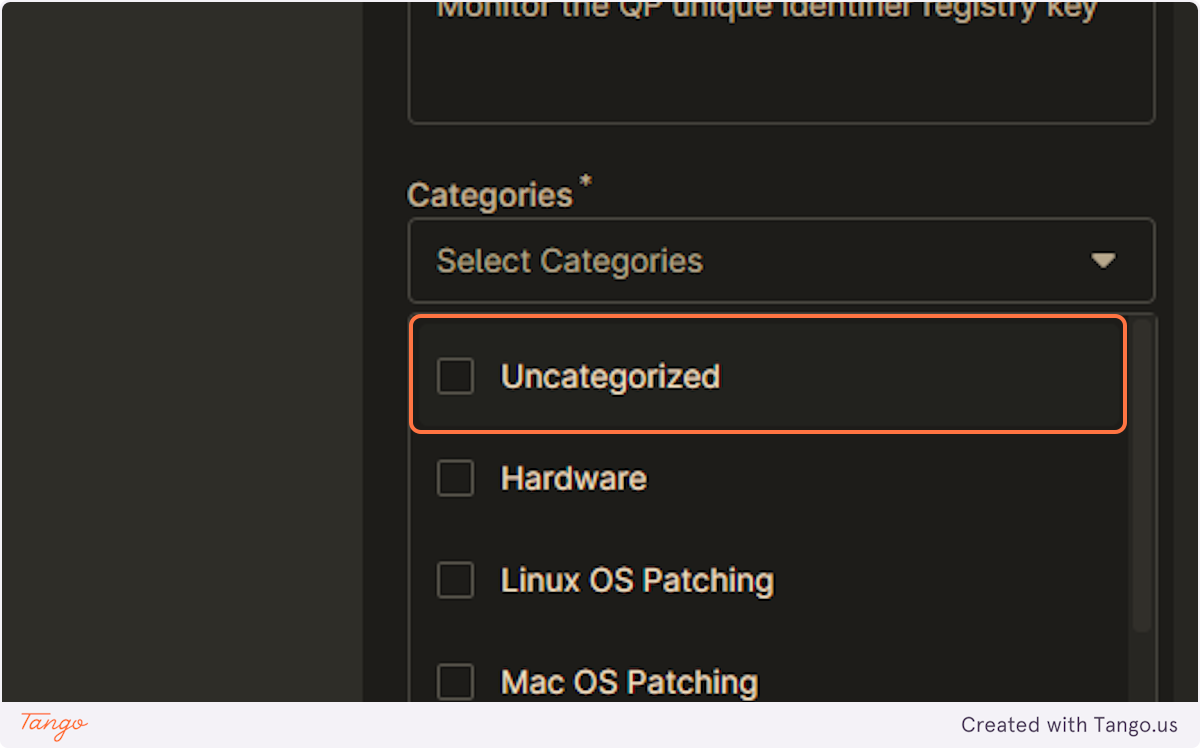
19. Categorize as desired
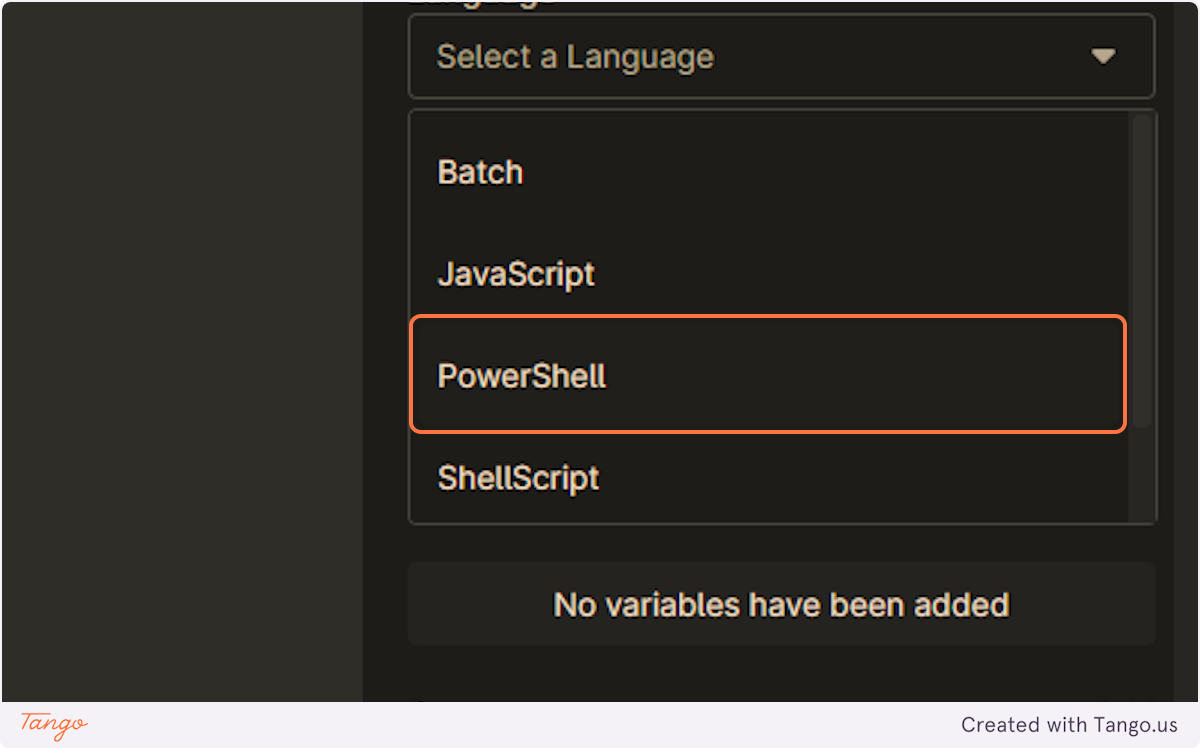
20. Set language to PowerShell
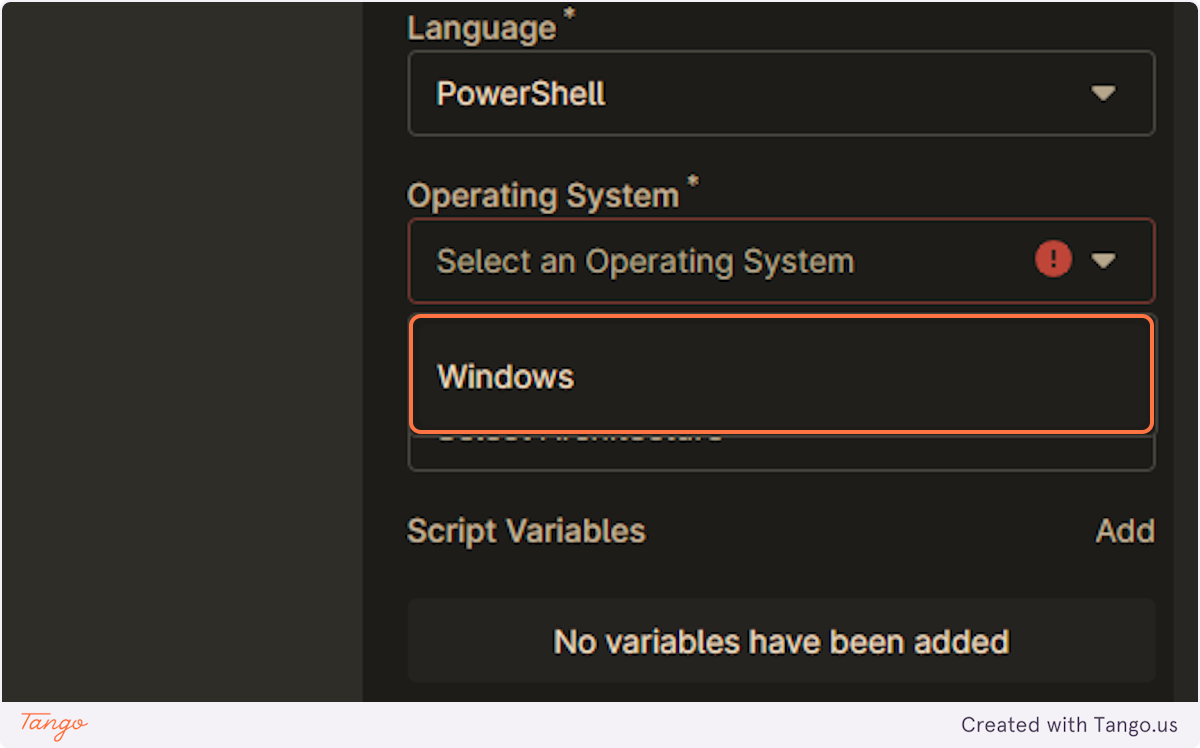
21. Set operating system as needed
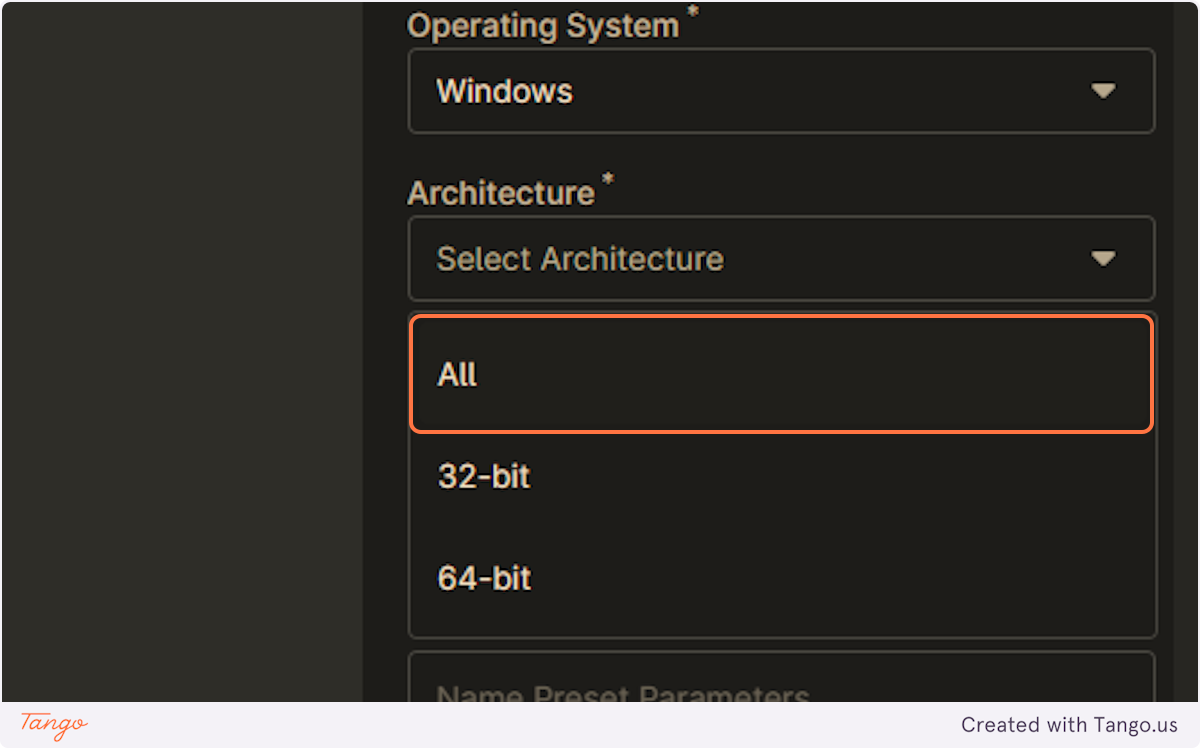
22. Set Architecture as needed, or All
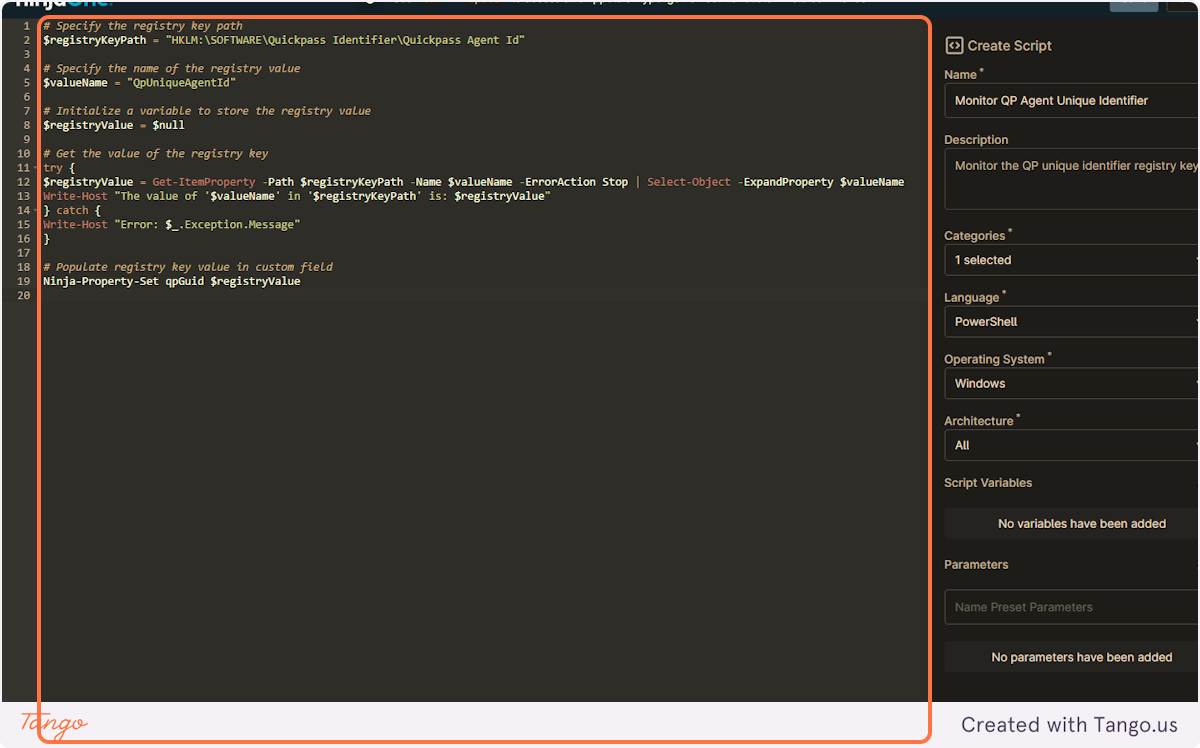
23. Copy PowerShell script and paste into body
PowerShell script, monitorQPguid.ps1, is attached at the bottom of this KB article.
24. Click on Save
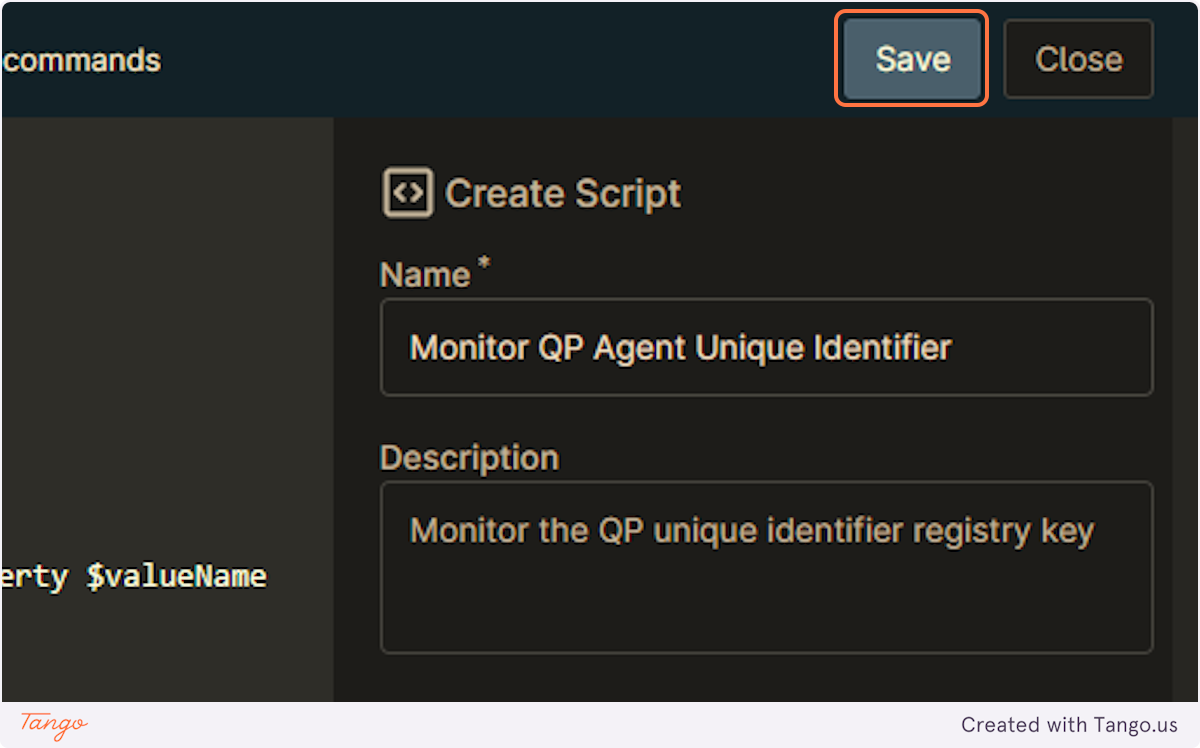
25. Confirm new script is created

26. Click on Policies
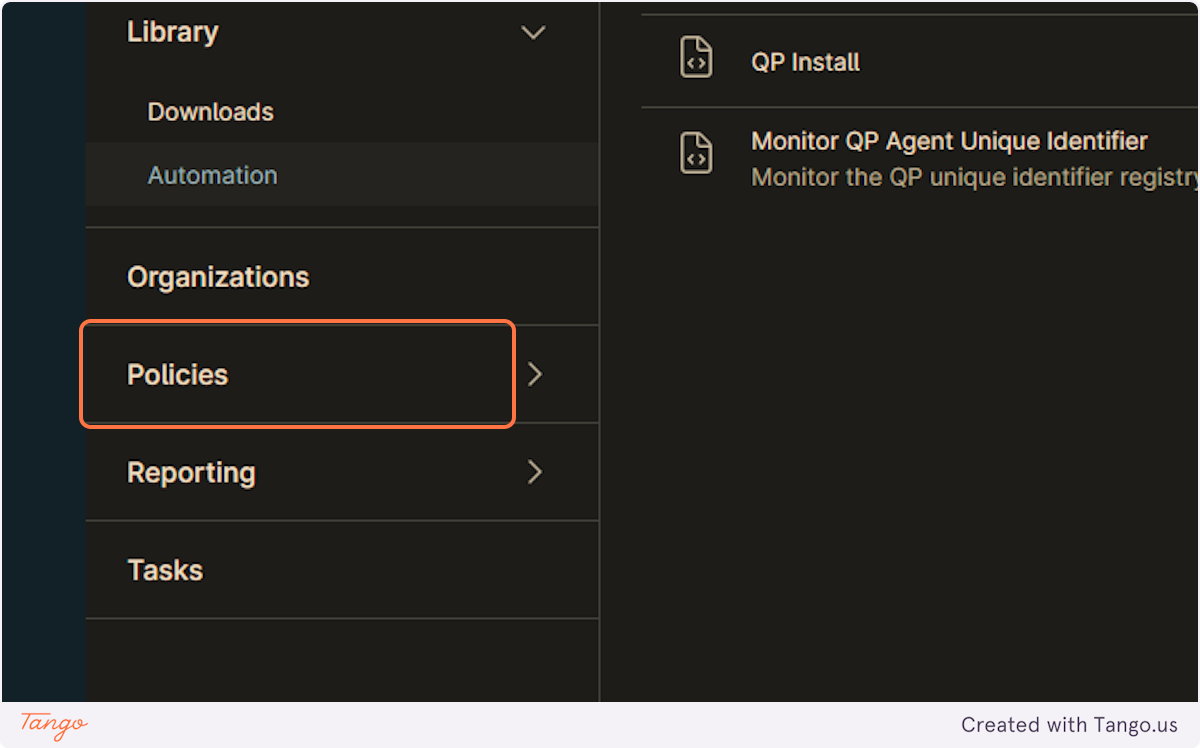
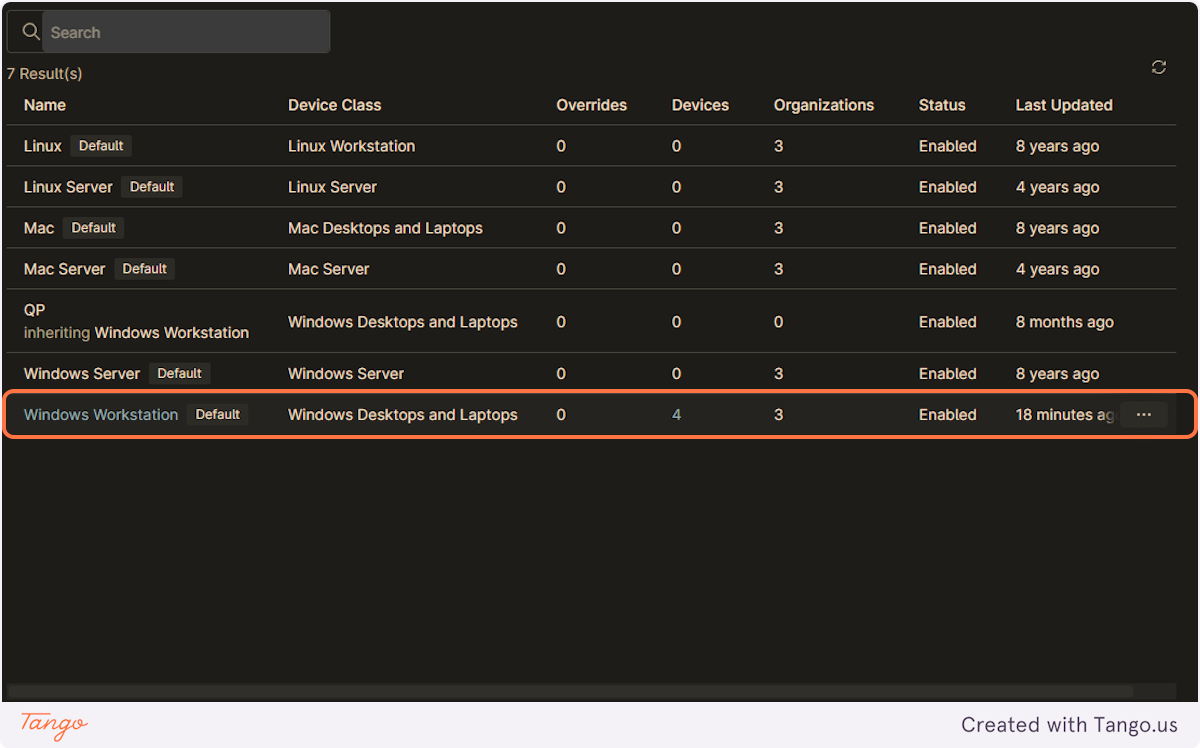
27. Click on desired policy type
This will apply the automation policy to devices that are part of the selected policy group. Repeat as needed for other policy groups.
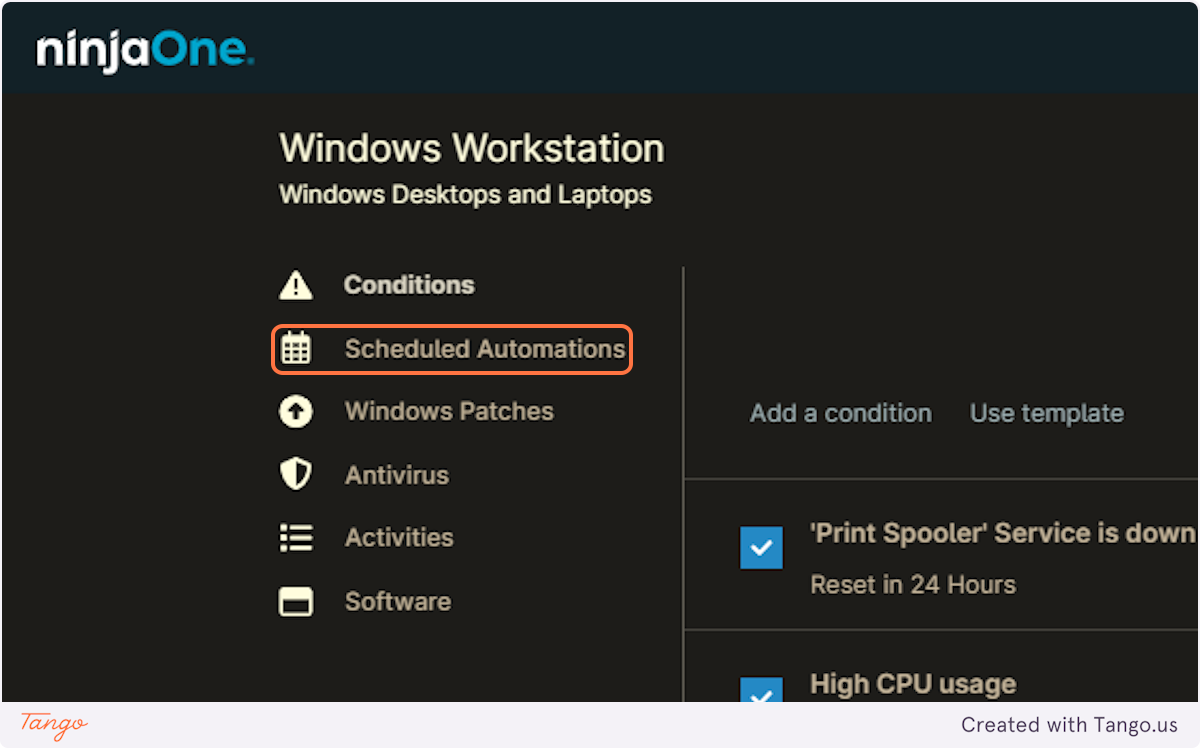
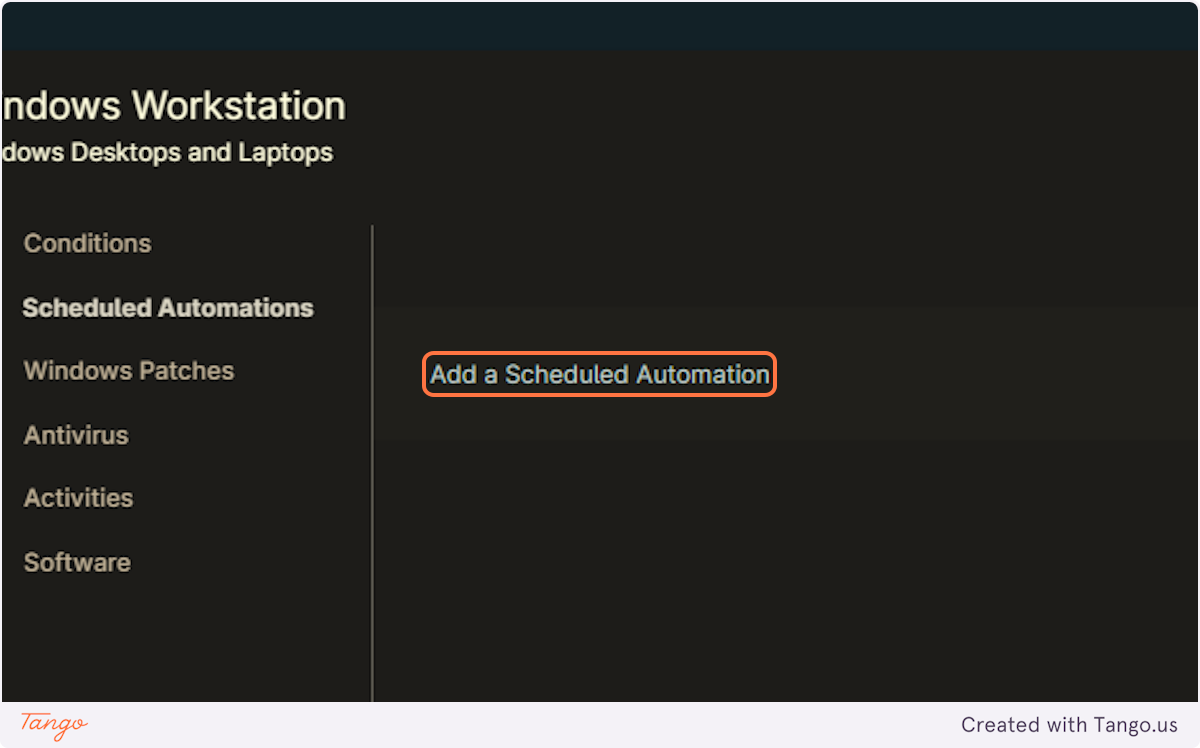
28. Click on Scheduled Automations
29. Click on Add a Scheduled Automation
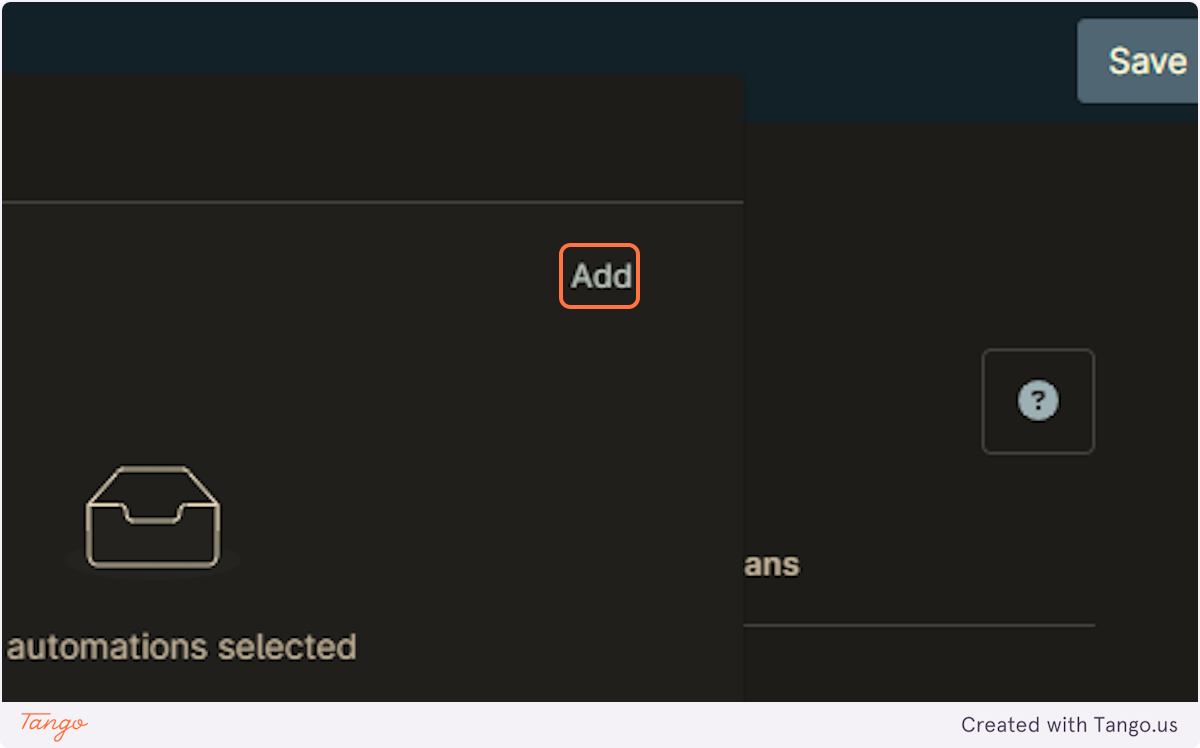
30. Click on Add to add the automation script
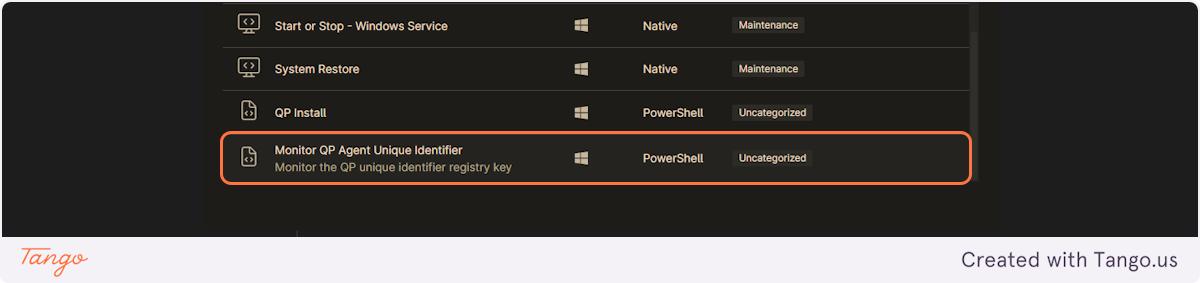
31. Select the automation script
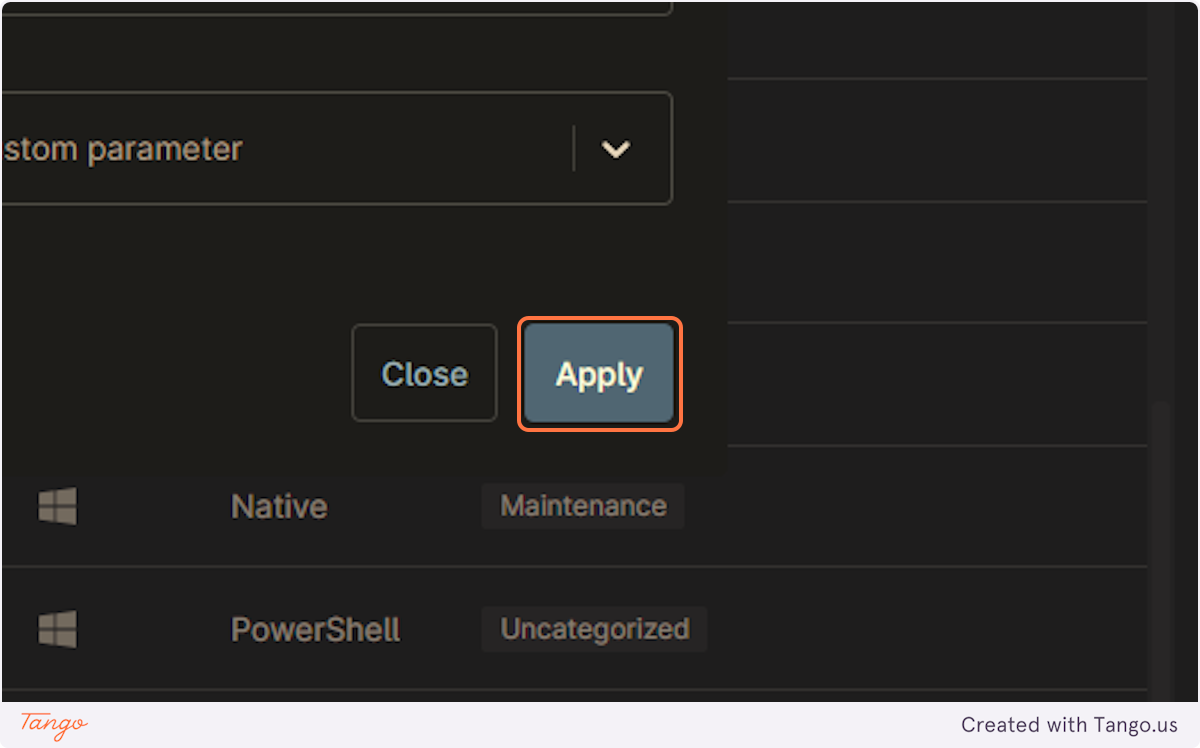
32. Click on Apply
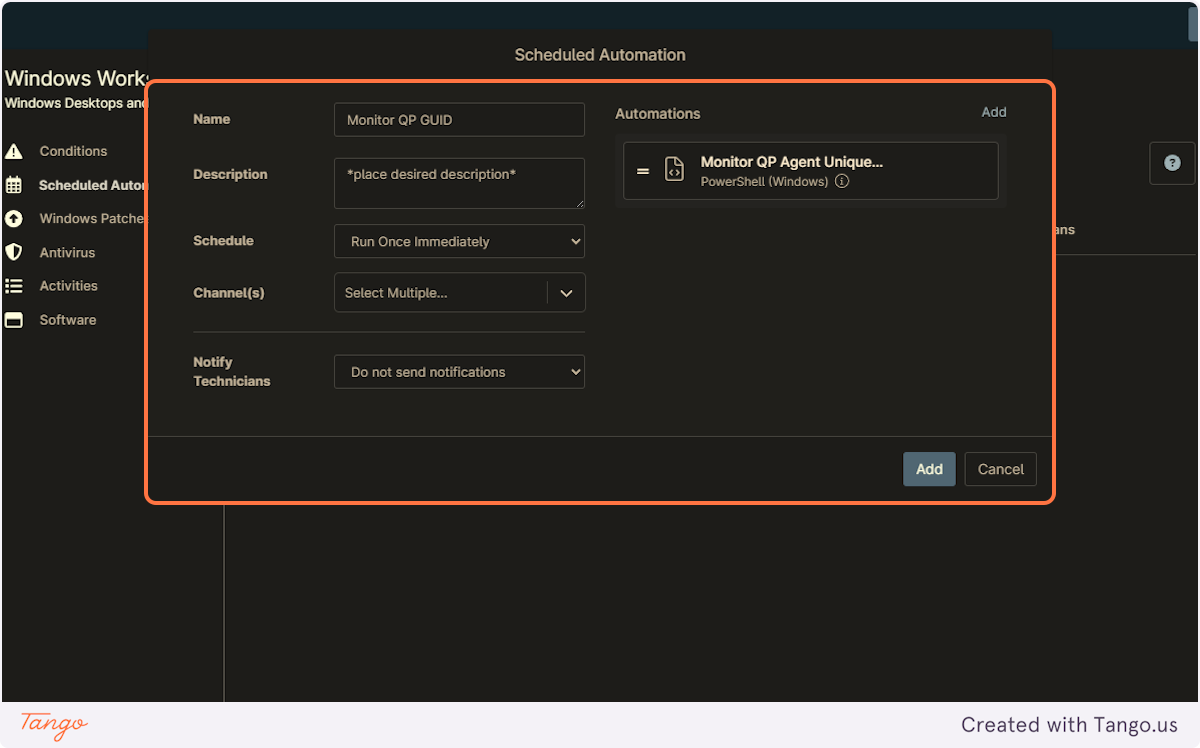
33. Name and schedule as desired
To run once immediately, set as shown.
34. Click on Add
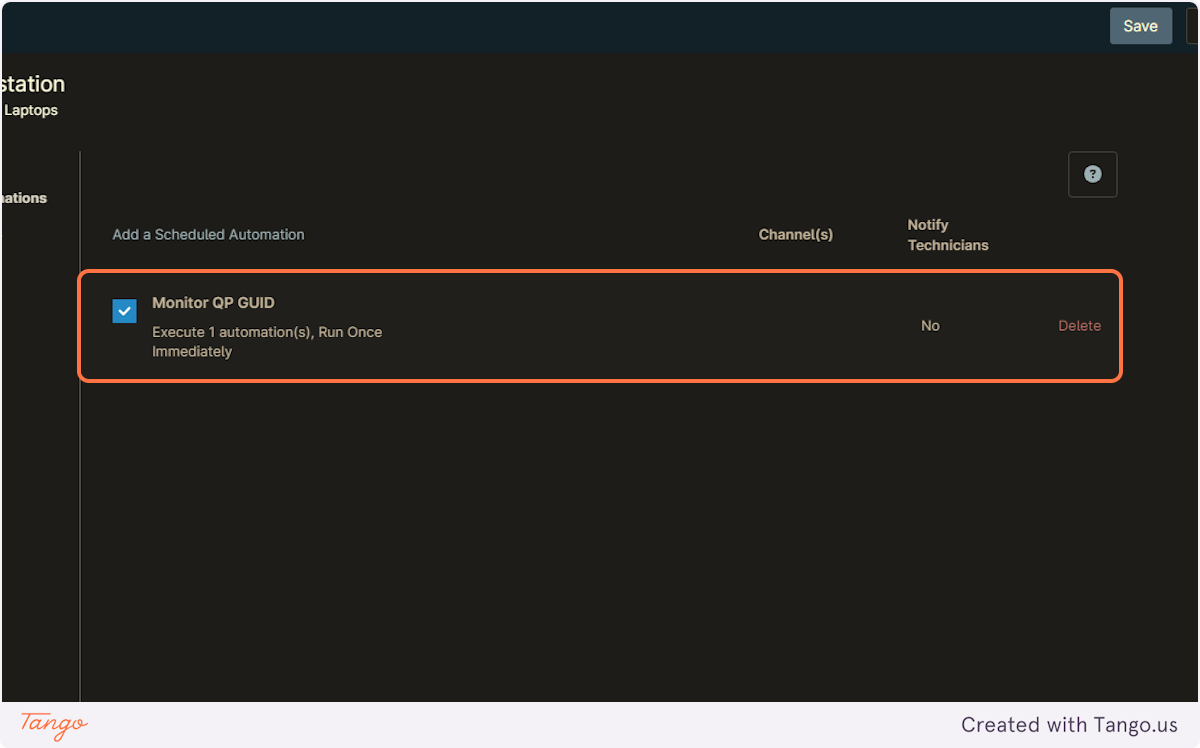
35. Confirm scheduled automation is created, save and close.
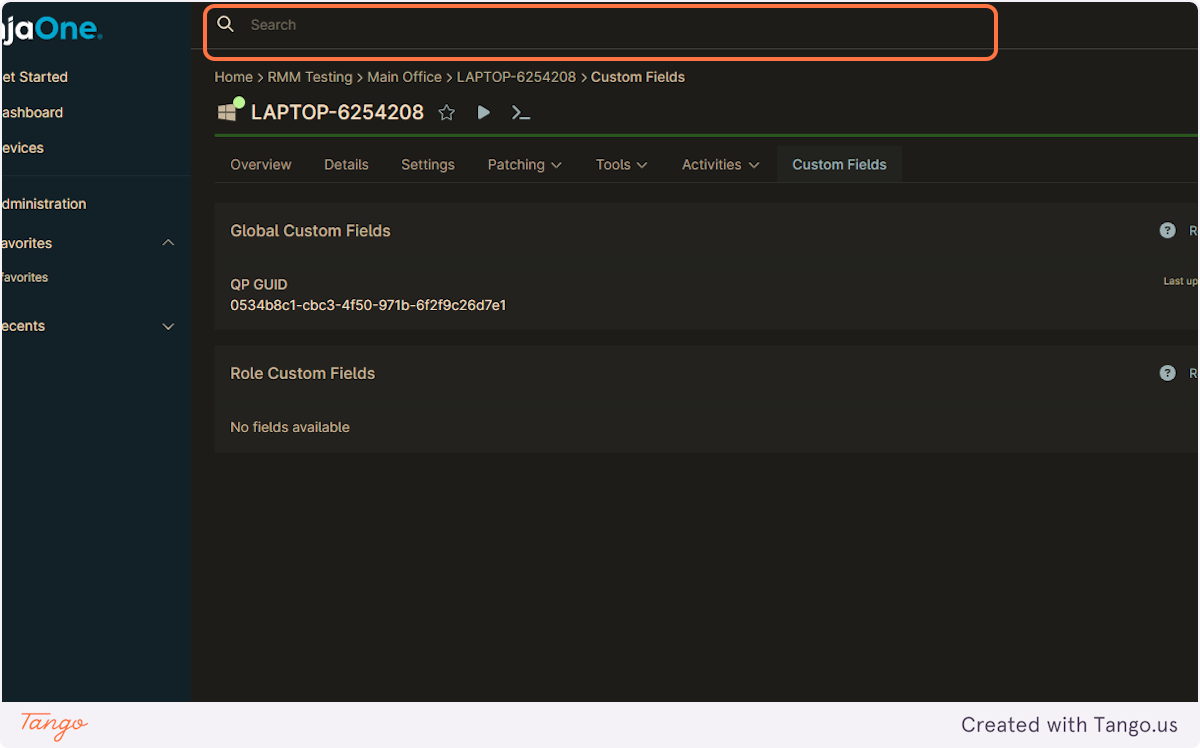
36. Navigate to a selected device and confirm the QP GUID value has been updated
NOTE: After the automation runs, it may take a few minutes to populate in the custom field.
Comments
0 comments
Please sign in to leave a comment.